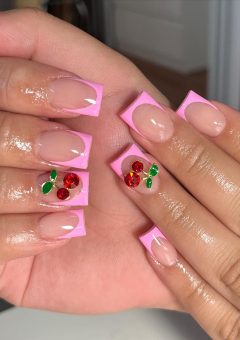
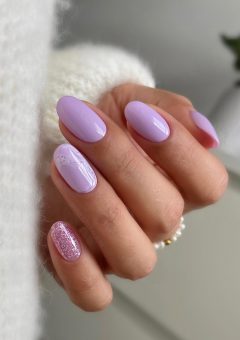
One of the trendy nail art forms this year is rainbow nail art. Since last year, it has been doing rounds on social media, especially Instagram. The basic rainbow manicure involves applying one unique color to each nail. The evolved version consists of the use of multiple colors on each nail.
Women of all ages love the concept. This is because they can wear all their favorite shades in one go. The trend suits fingers with any nail length. To top it off, you can easily do it at home without making an appointment with your nail technician.
Try these styles:
1. Pastel Rainbow Nails for a Candy-Coated Look
The best way to get colorful nails is to apply pastel shades to your nails. It gives a feminine and soft look to your fingertips. The classic rainbow style is to take different pastel colors with a matte finish and apply one to each of your nails. You can also coat different rainbow nail designs to ramp up the look.
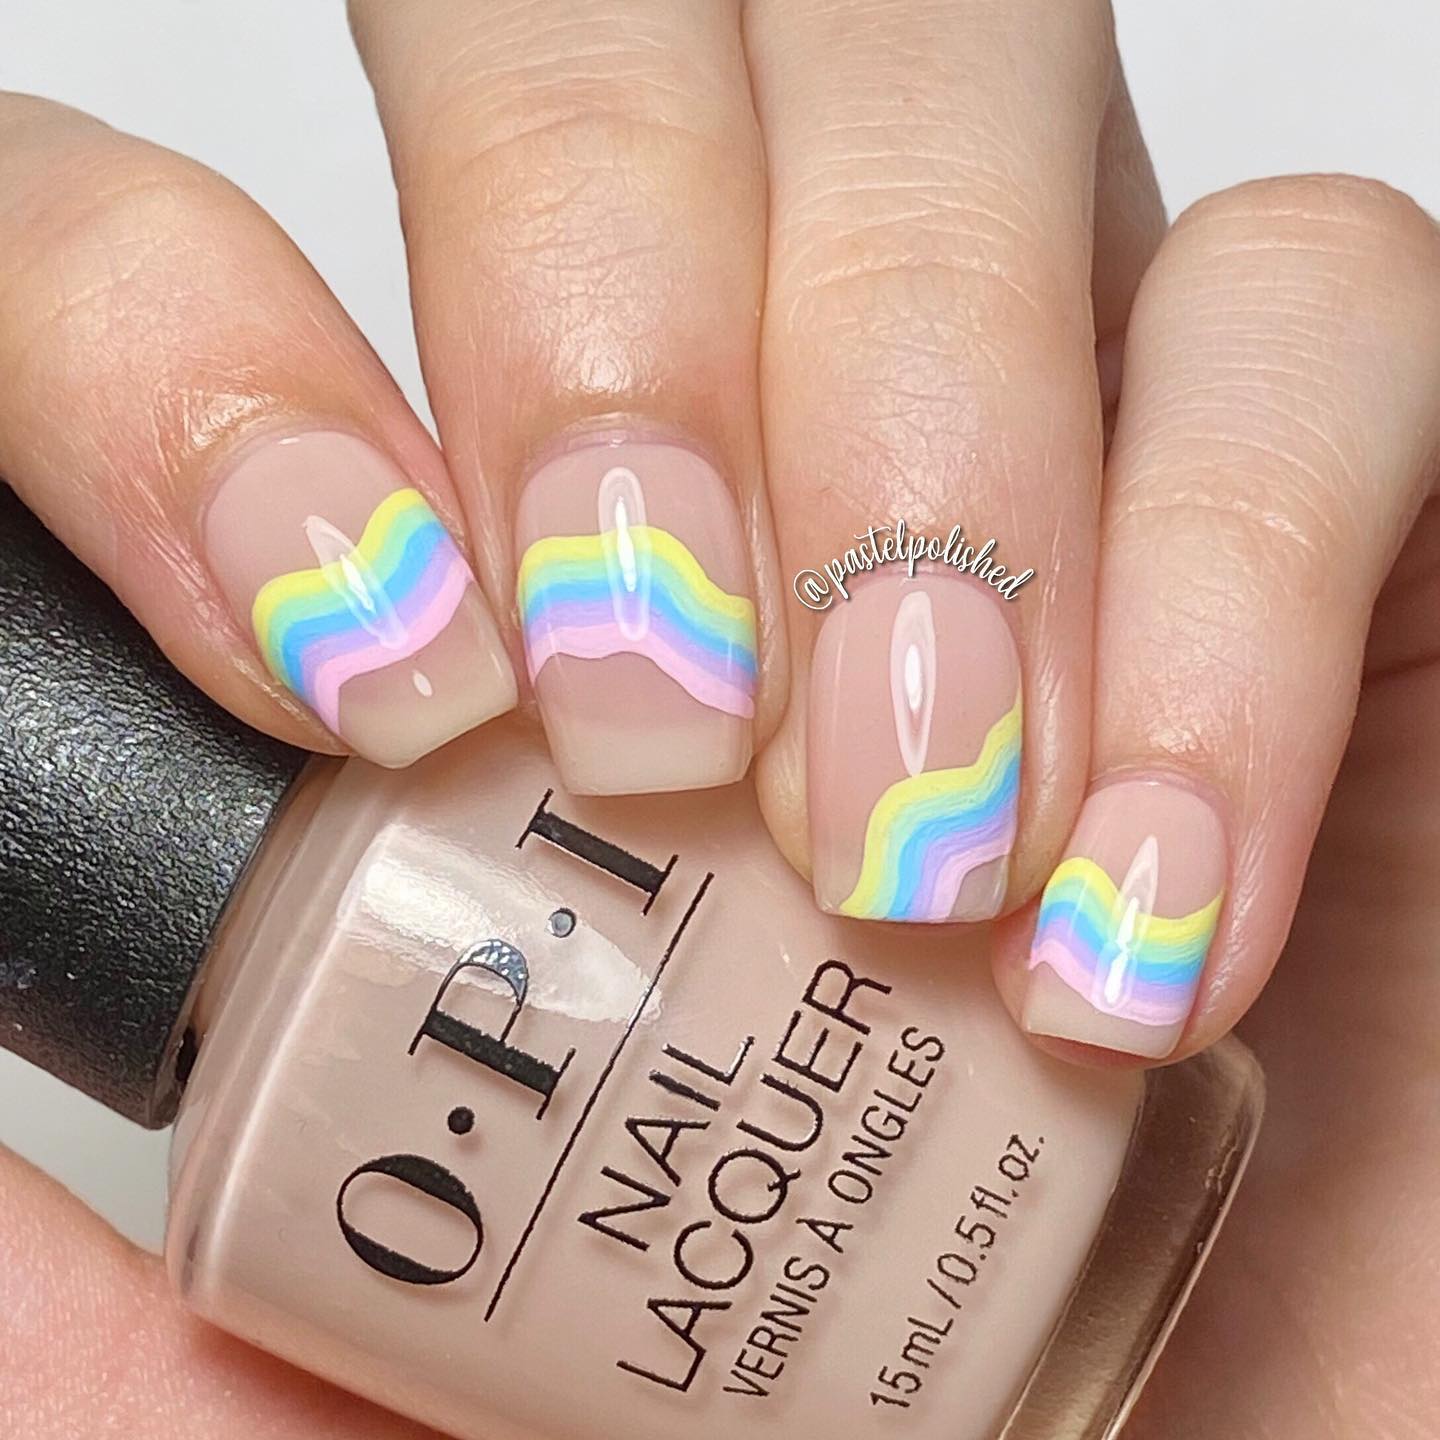
via @pastelpolished
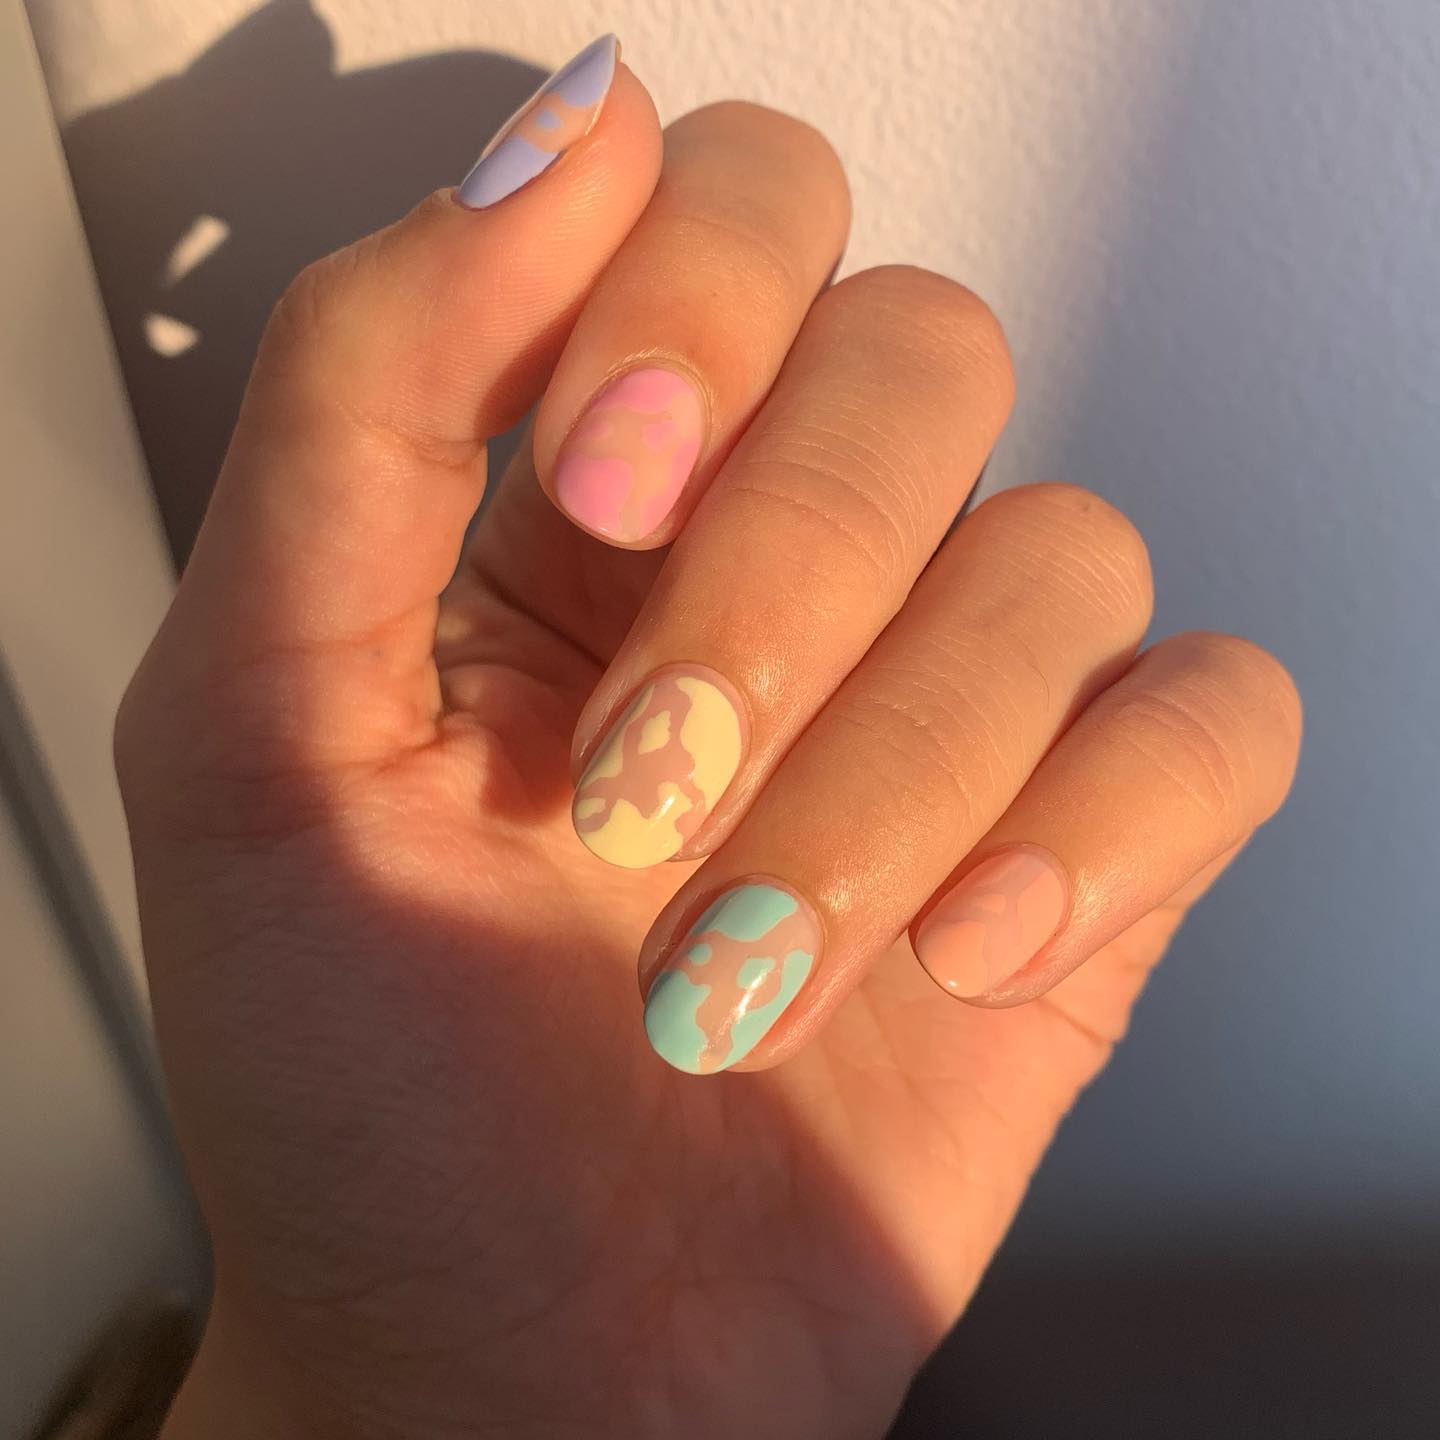
via @samrosenails
2. Rainbow French Nail Tips – Timeless Beauty
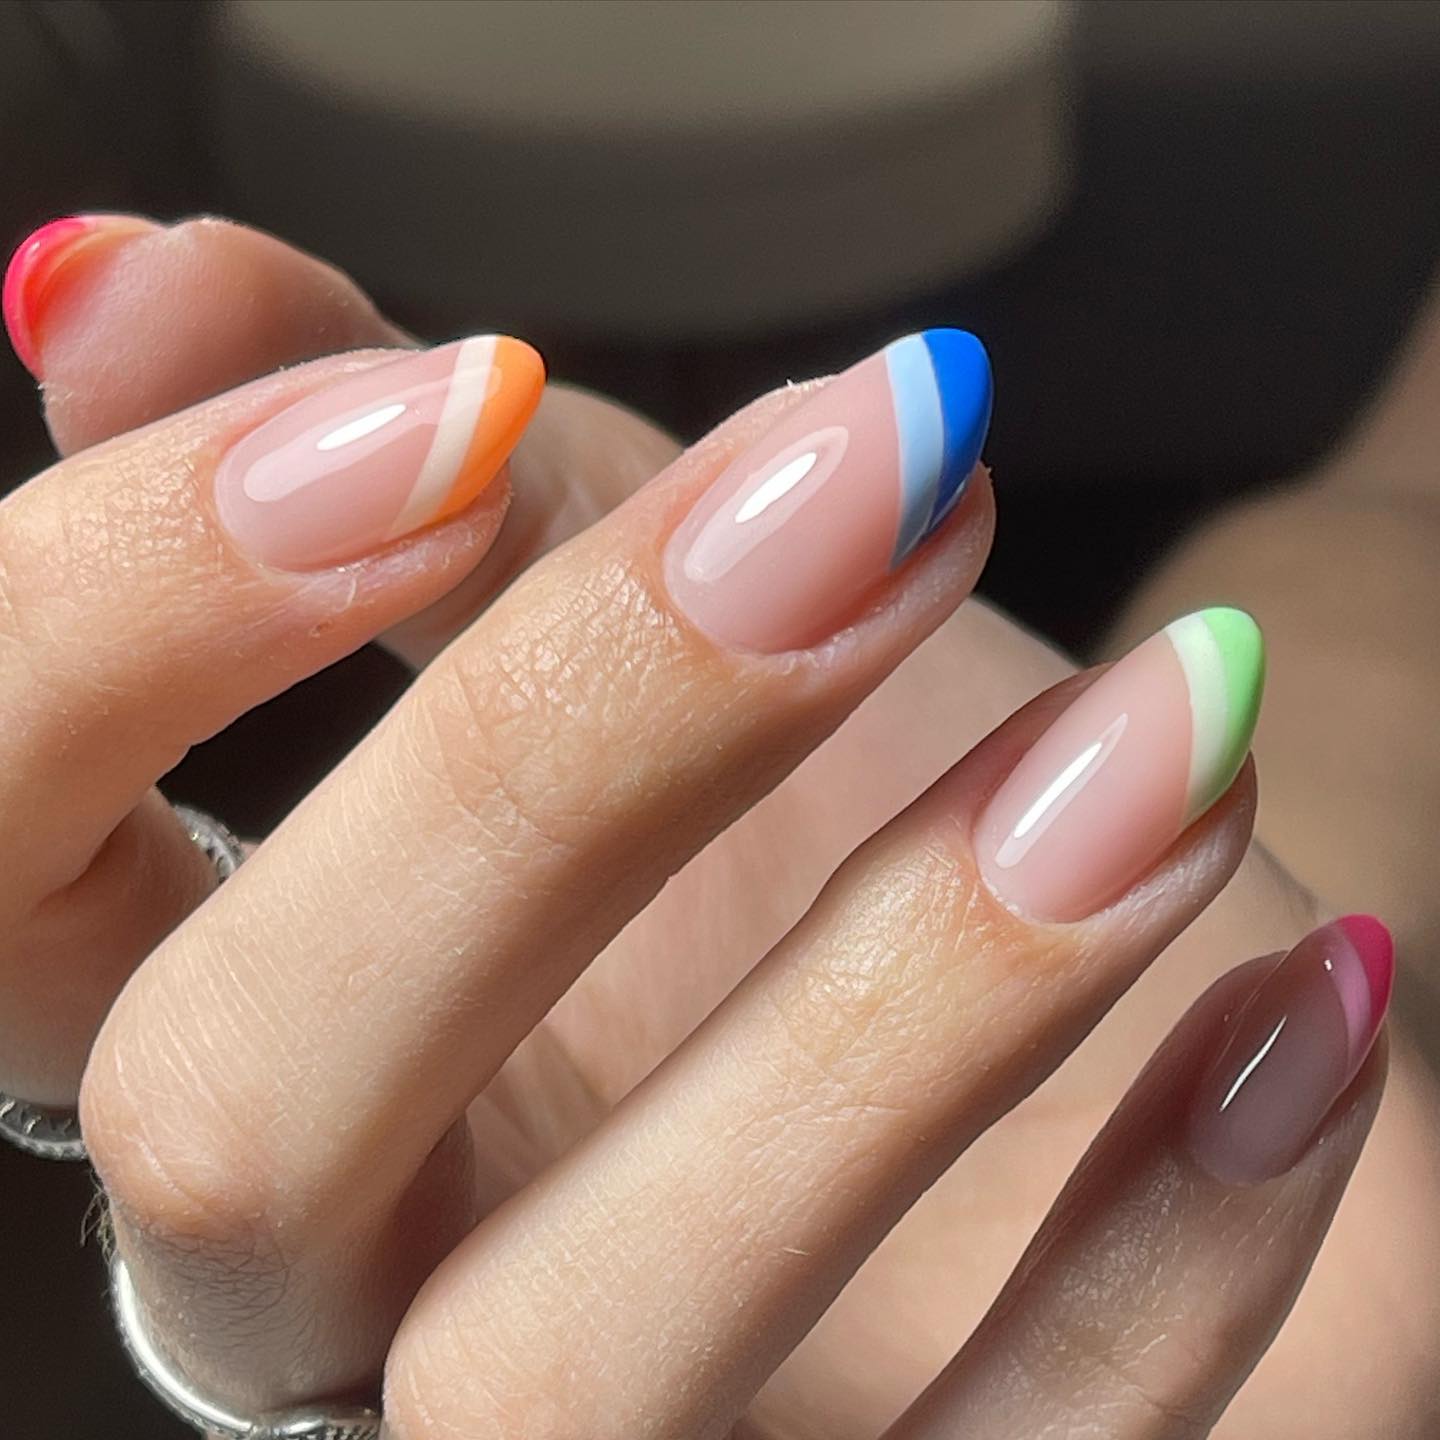
If you love the minimalist look, French tip nails are for you. It is a classical style that has withstood the test of time. The rainbow tip nails look stylish without being dramatic.
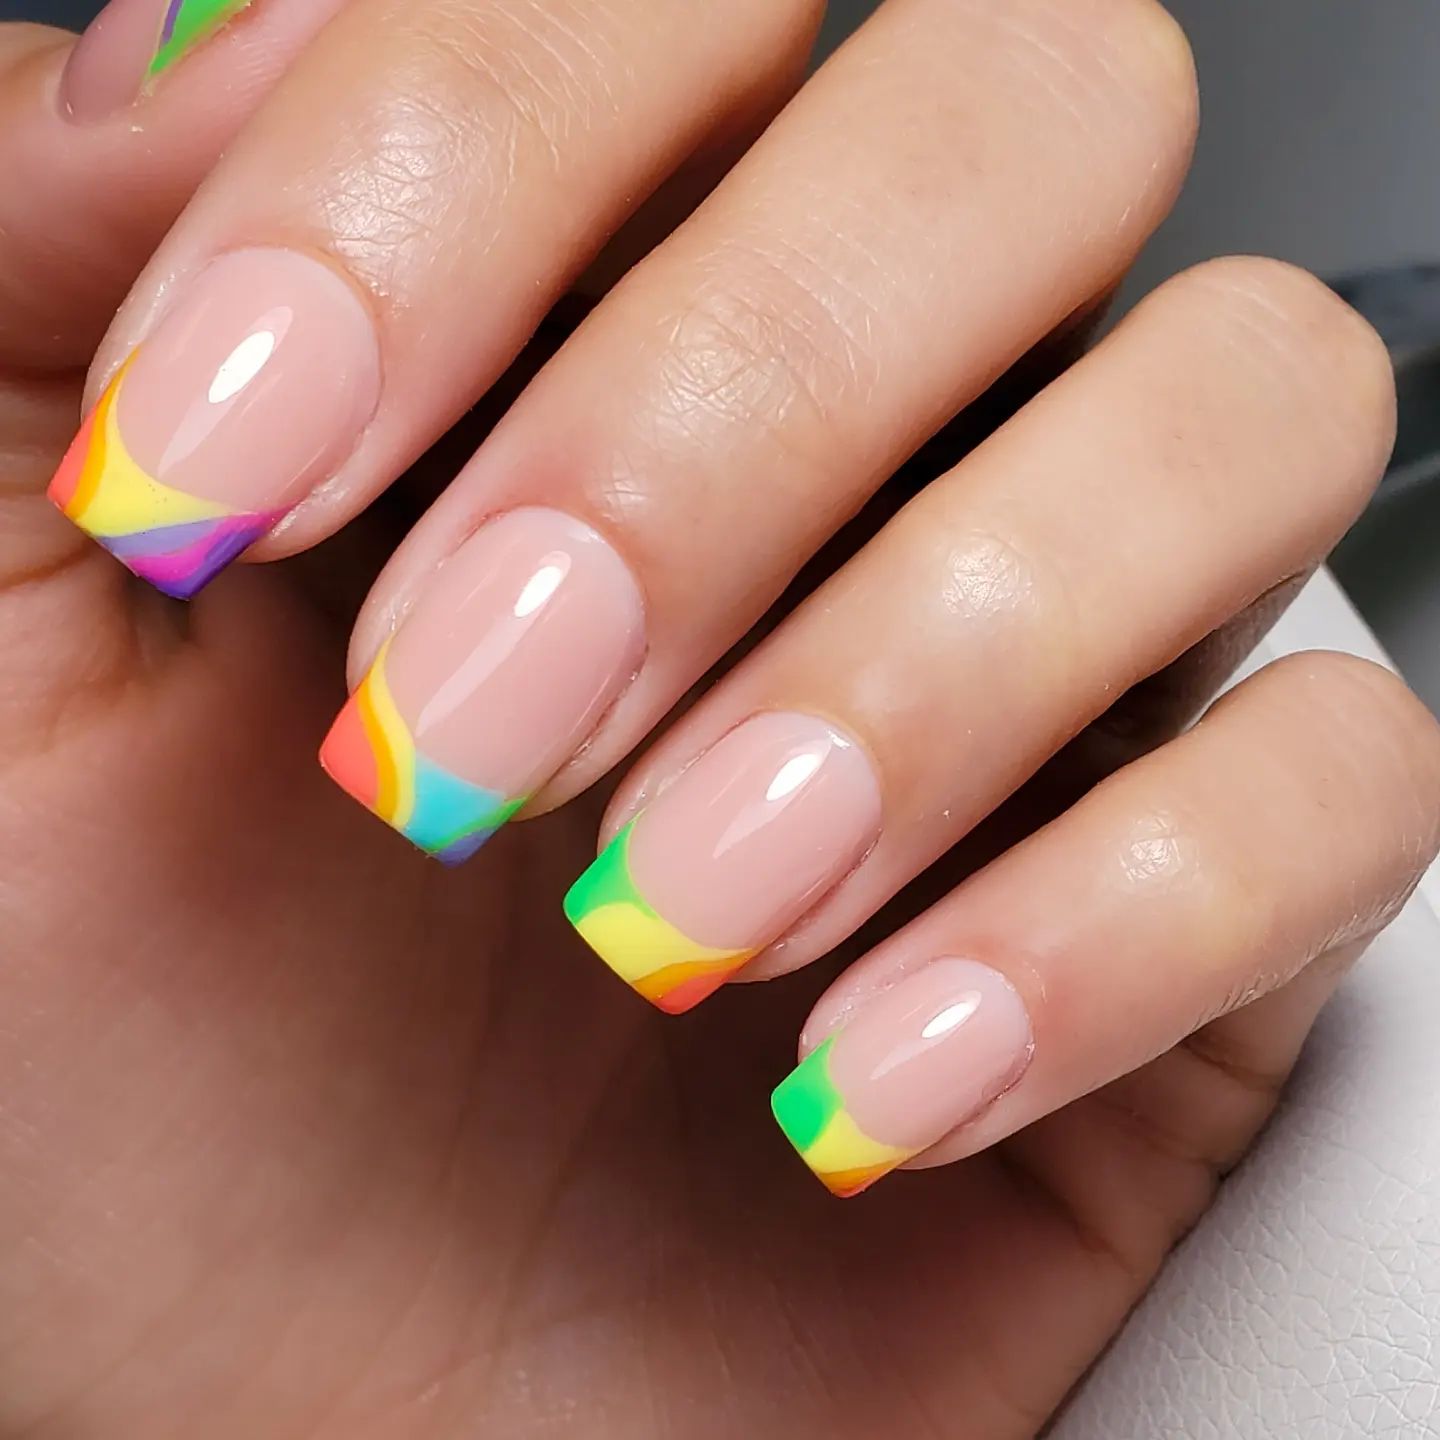
This chic, fuss-free style involves painting the nail tips with rainbow colors. A colorful tip manicure can be done at home too.
3. Acrylic Rainbow Nails for a Long-lasting Effect
Rainbow acrylic nails look stunning on long and short nails. The result is outstanding, especially because acrylic looks harder than gel types. Especially for long nail designs, a rainbow manicure can raise the temperature. Choose the design carefully, as acrylic art tends to stay with you for a longer time.
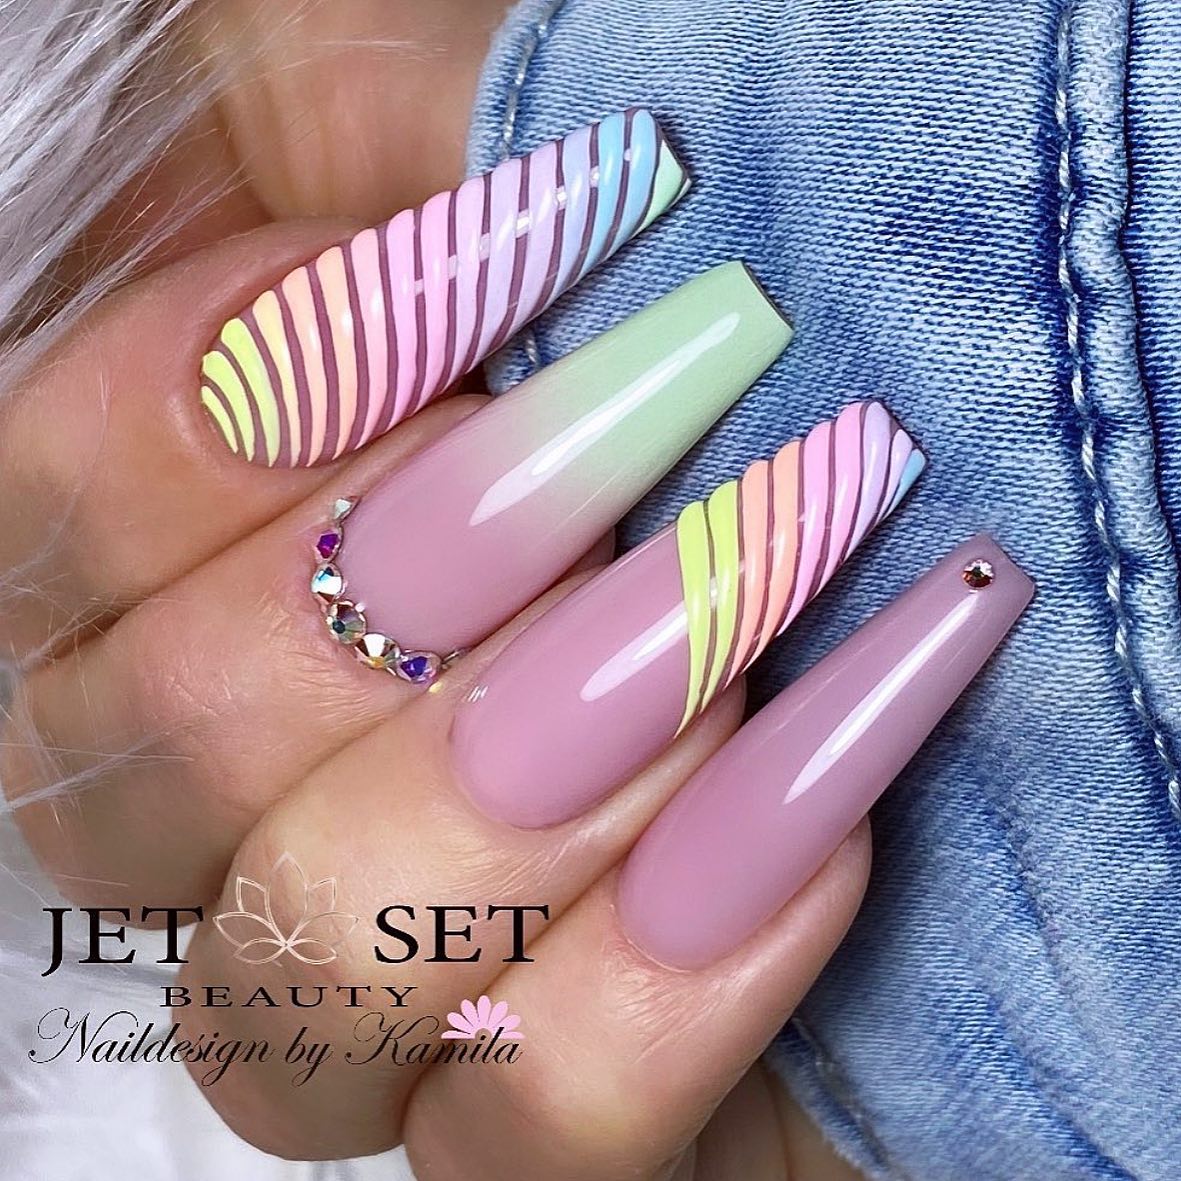
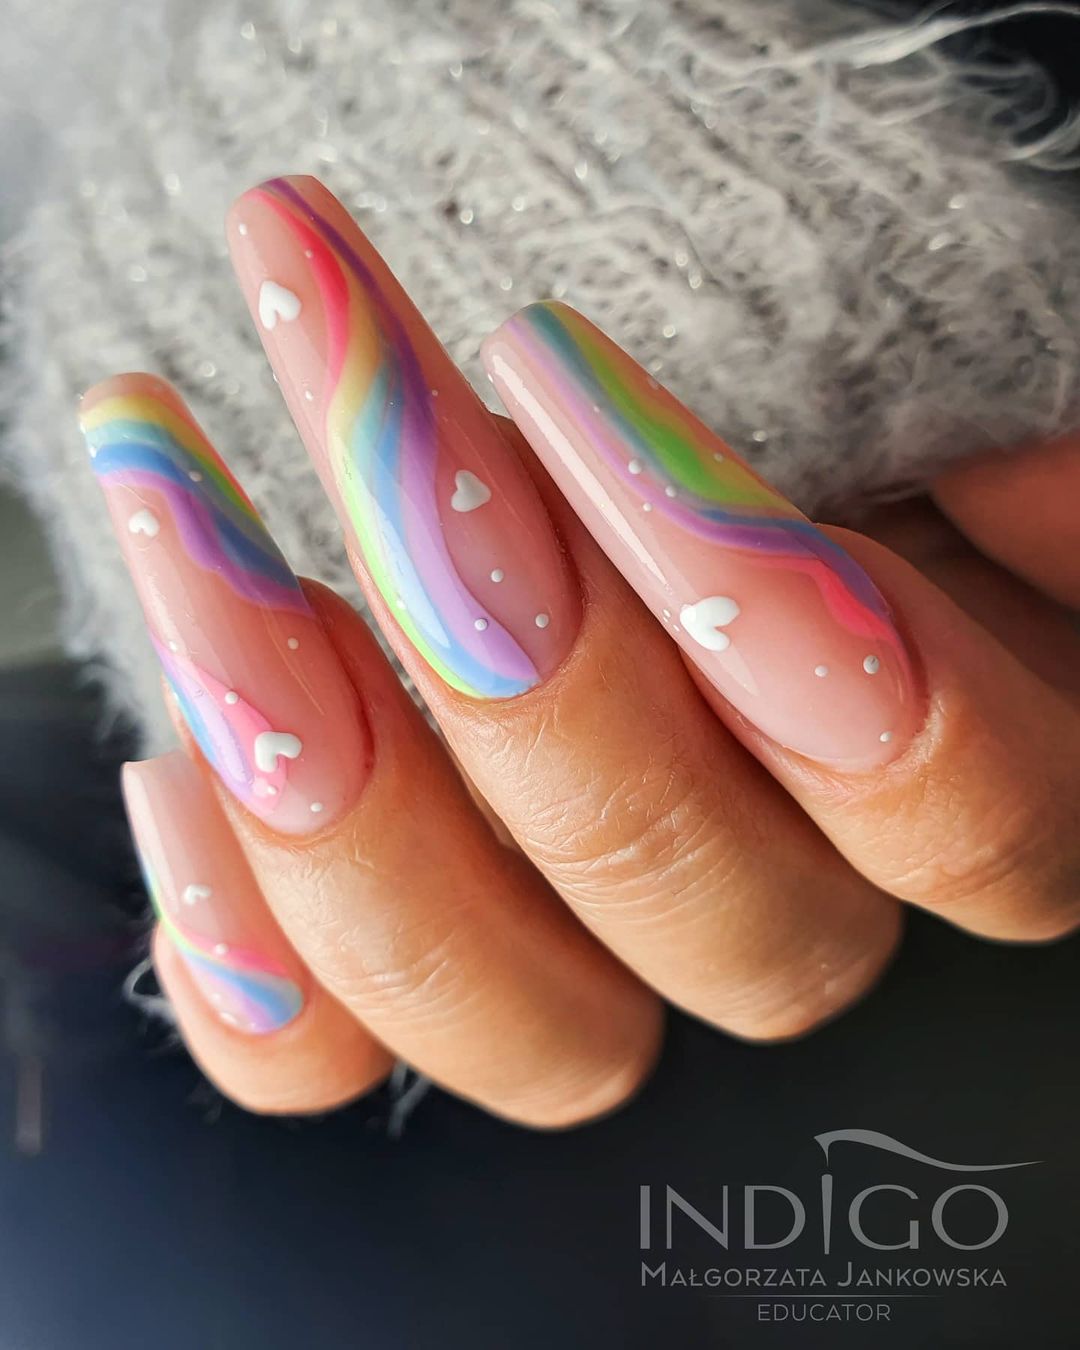
via @malgorzata_jankowska_indigo
4. Rainbow Neon Nails to Brighten Up Each Day
Neon rainbow nails are known to heat things, not literally, though! To enhance the design, neon sunset hues look great with bright nail designs that are elevated using neon shades. You can scatter and cover your nails with rainbow dots for everyday manicures. If you wish to experiment with your short or long neon nails, go for other fun patterns.
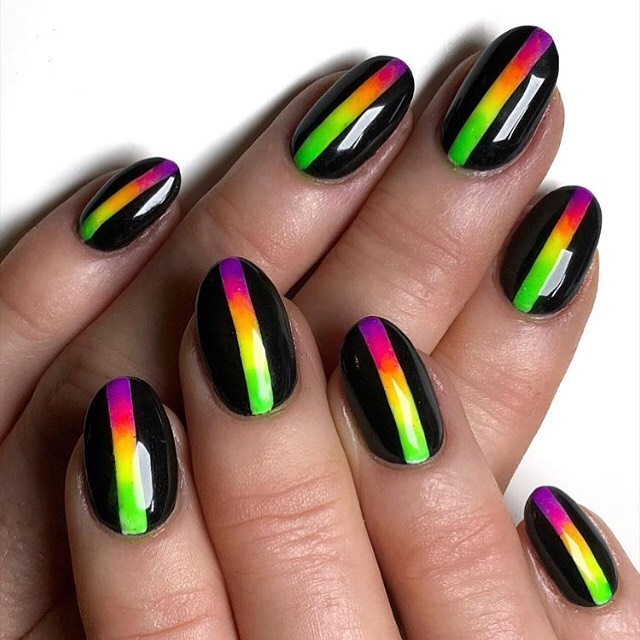
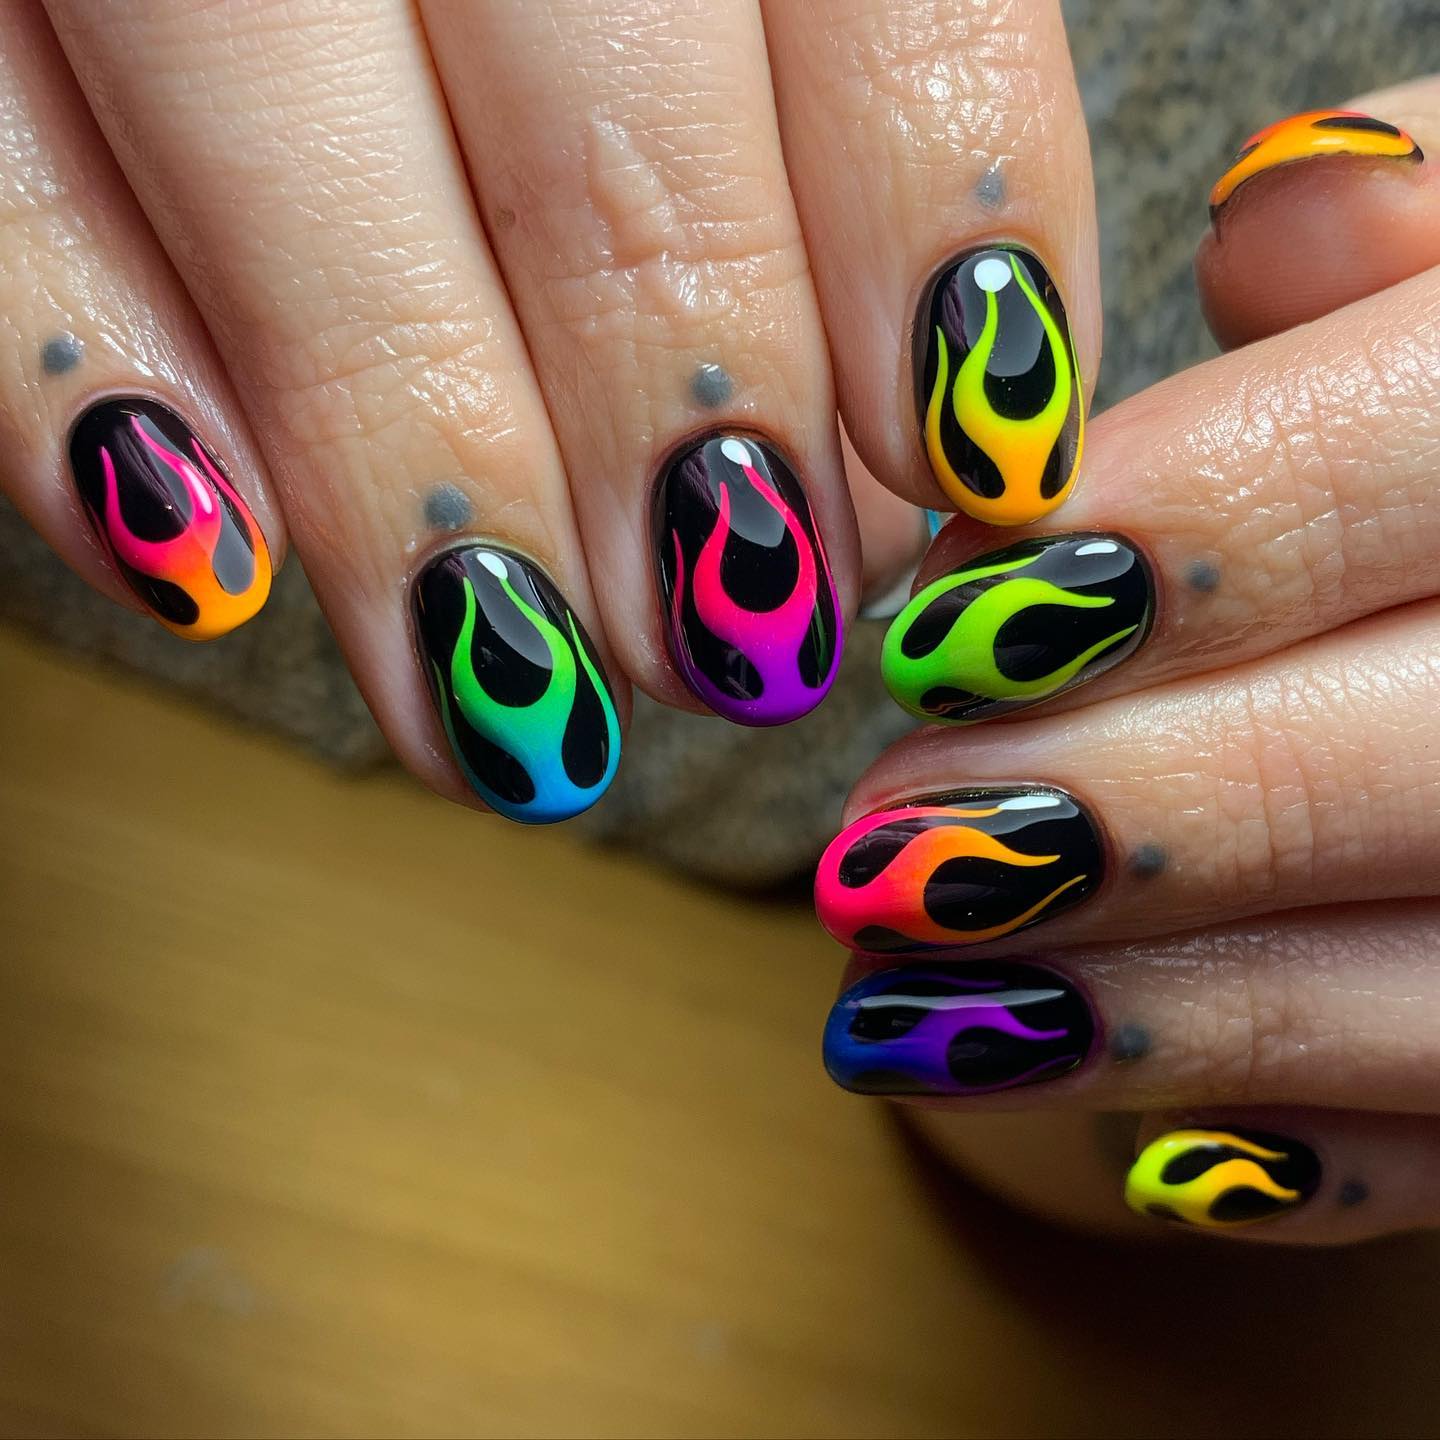
via @that.nailplace
5. Rainbow Ombre Nails Offers You A Vogue Style
Ombre is a technique to blend colors from dark to light. Ombre rainbow nails go from dark at the cuticles to light at the tip. The gradient manicure can be applied left to right too.
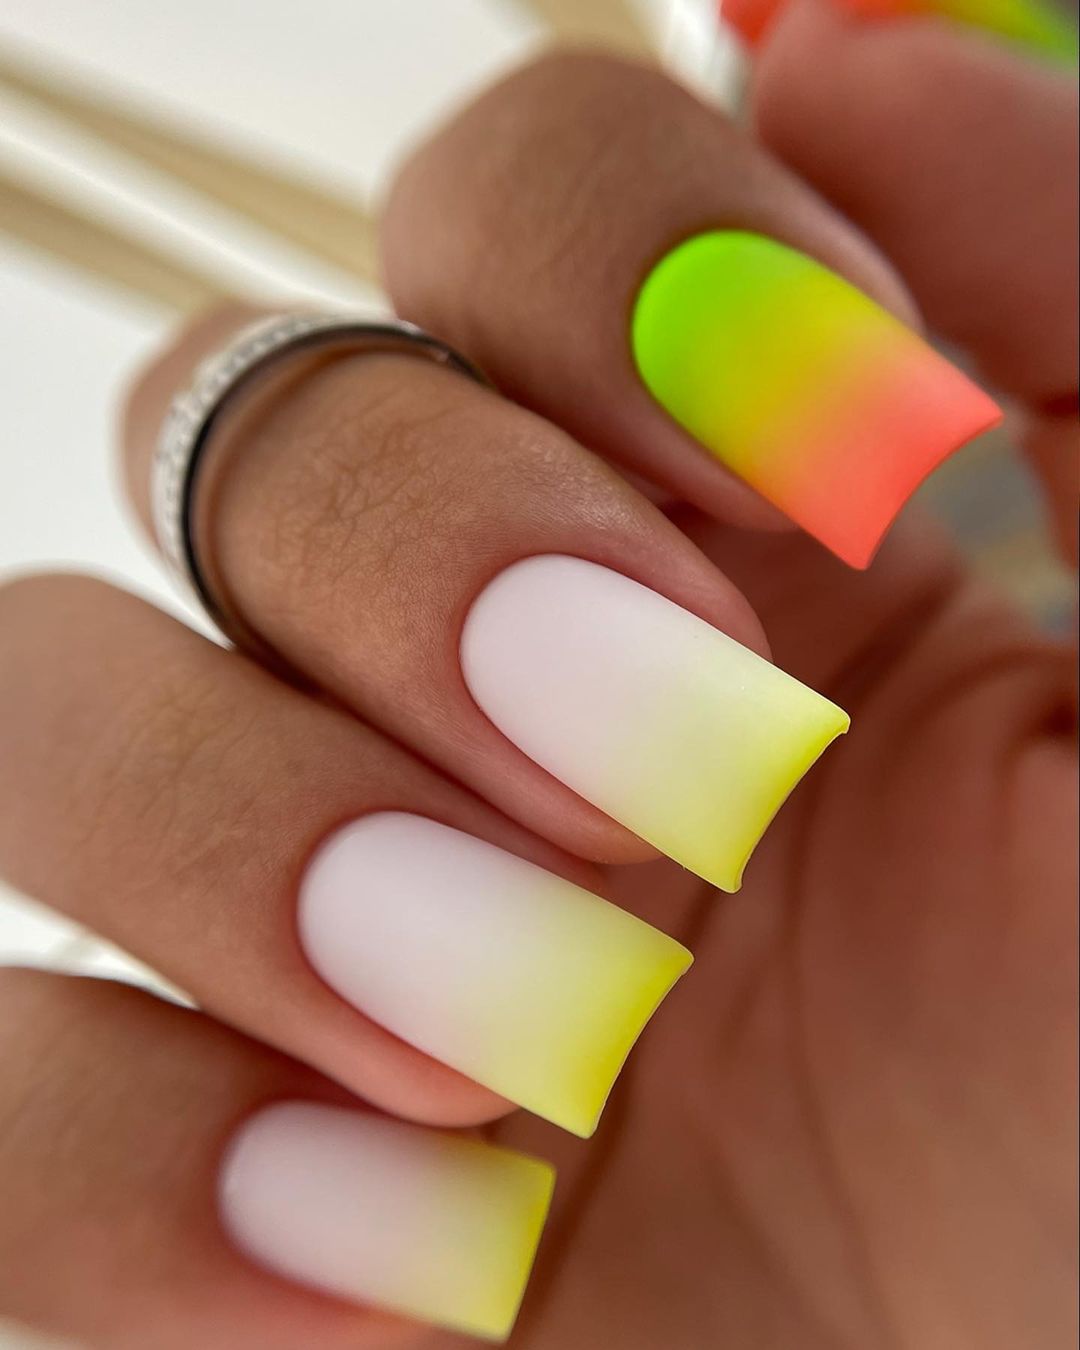
via @davtyan_indira
Go in for matte pastels to achieve the impressive two-toned ombre nails. Not just stylish, these look very feminine too.
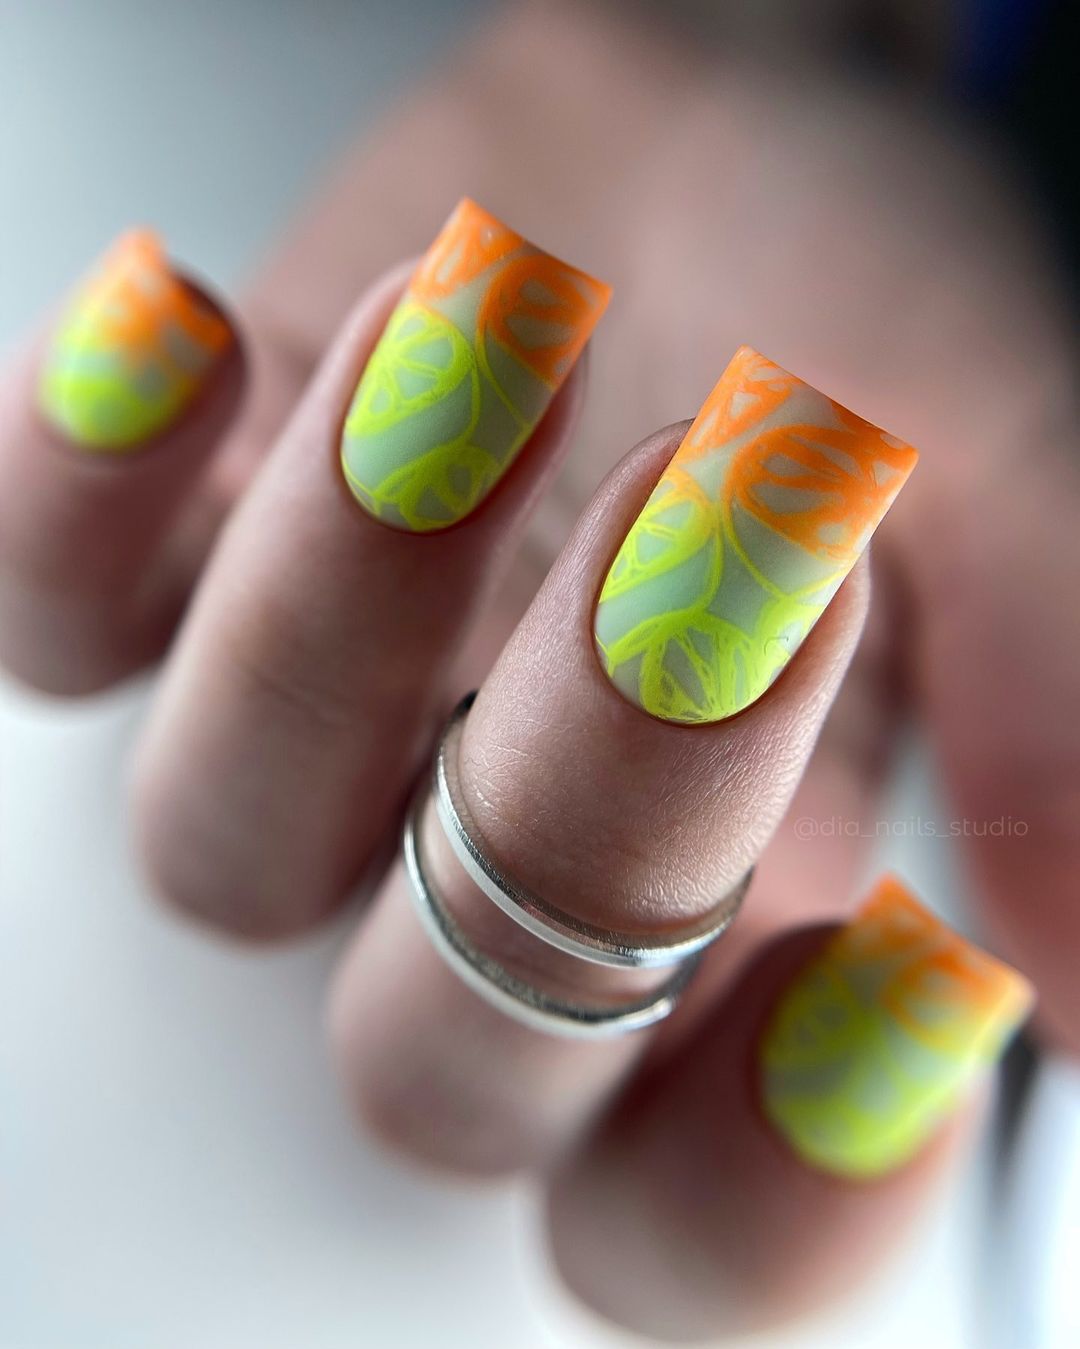
6. Coffin Rainbow Nails Let You Experiment with Styles
Coffin nails are not simply trendy; they can be done well with rainbow designs. You can go all out with popular rainbow nails or go in for a mix of chrome and rainbow designs. In the latter case, keep most nails covered with light chrome while choosing two fingers for the rainbow accent polish. You can go in for coffin acrylic nails for an elegant look.
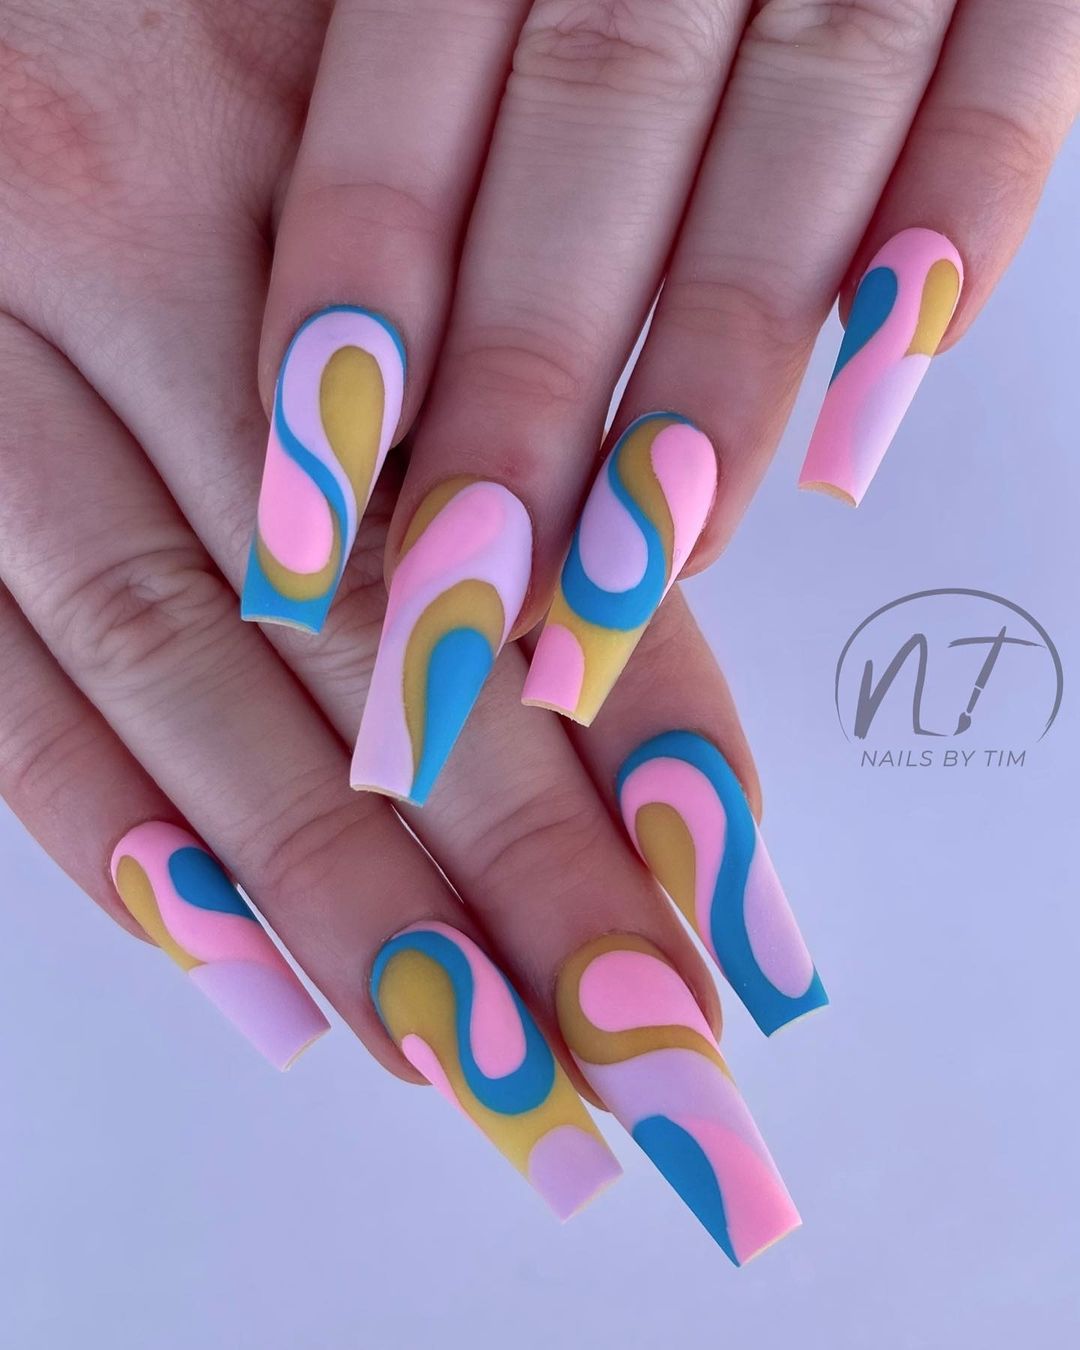
via @sxccosmetics
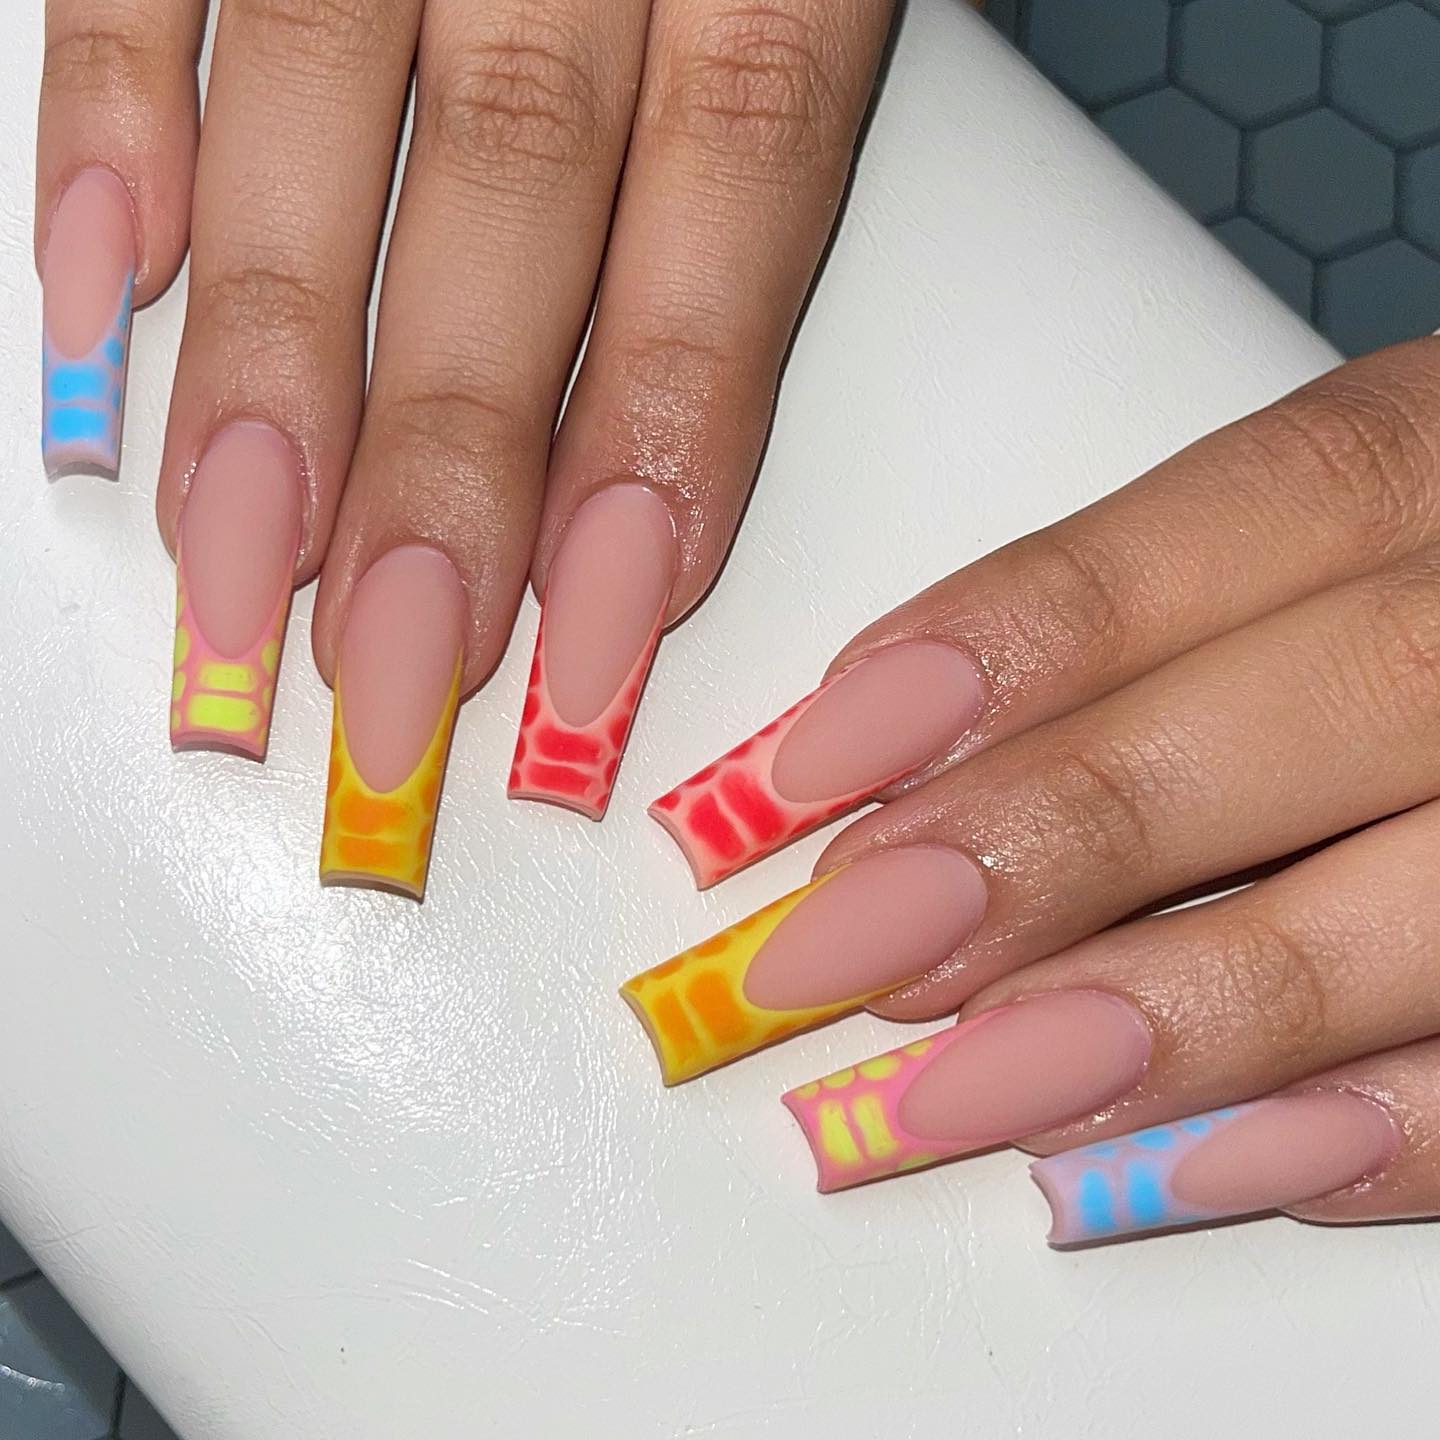
7. Short Rainbow Nail Designs for a Smarter You
Got shorter nails? Use cute short nail designs with rainbow accents or color the tips as per your choice. To keep it minimalist, choose the French nail tips for simple short nail designs. Even acrylic or gel short nails look smart.
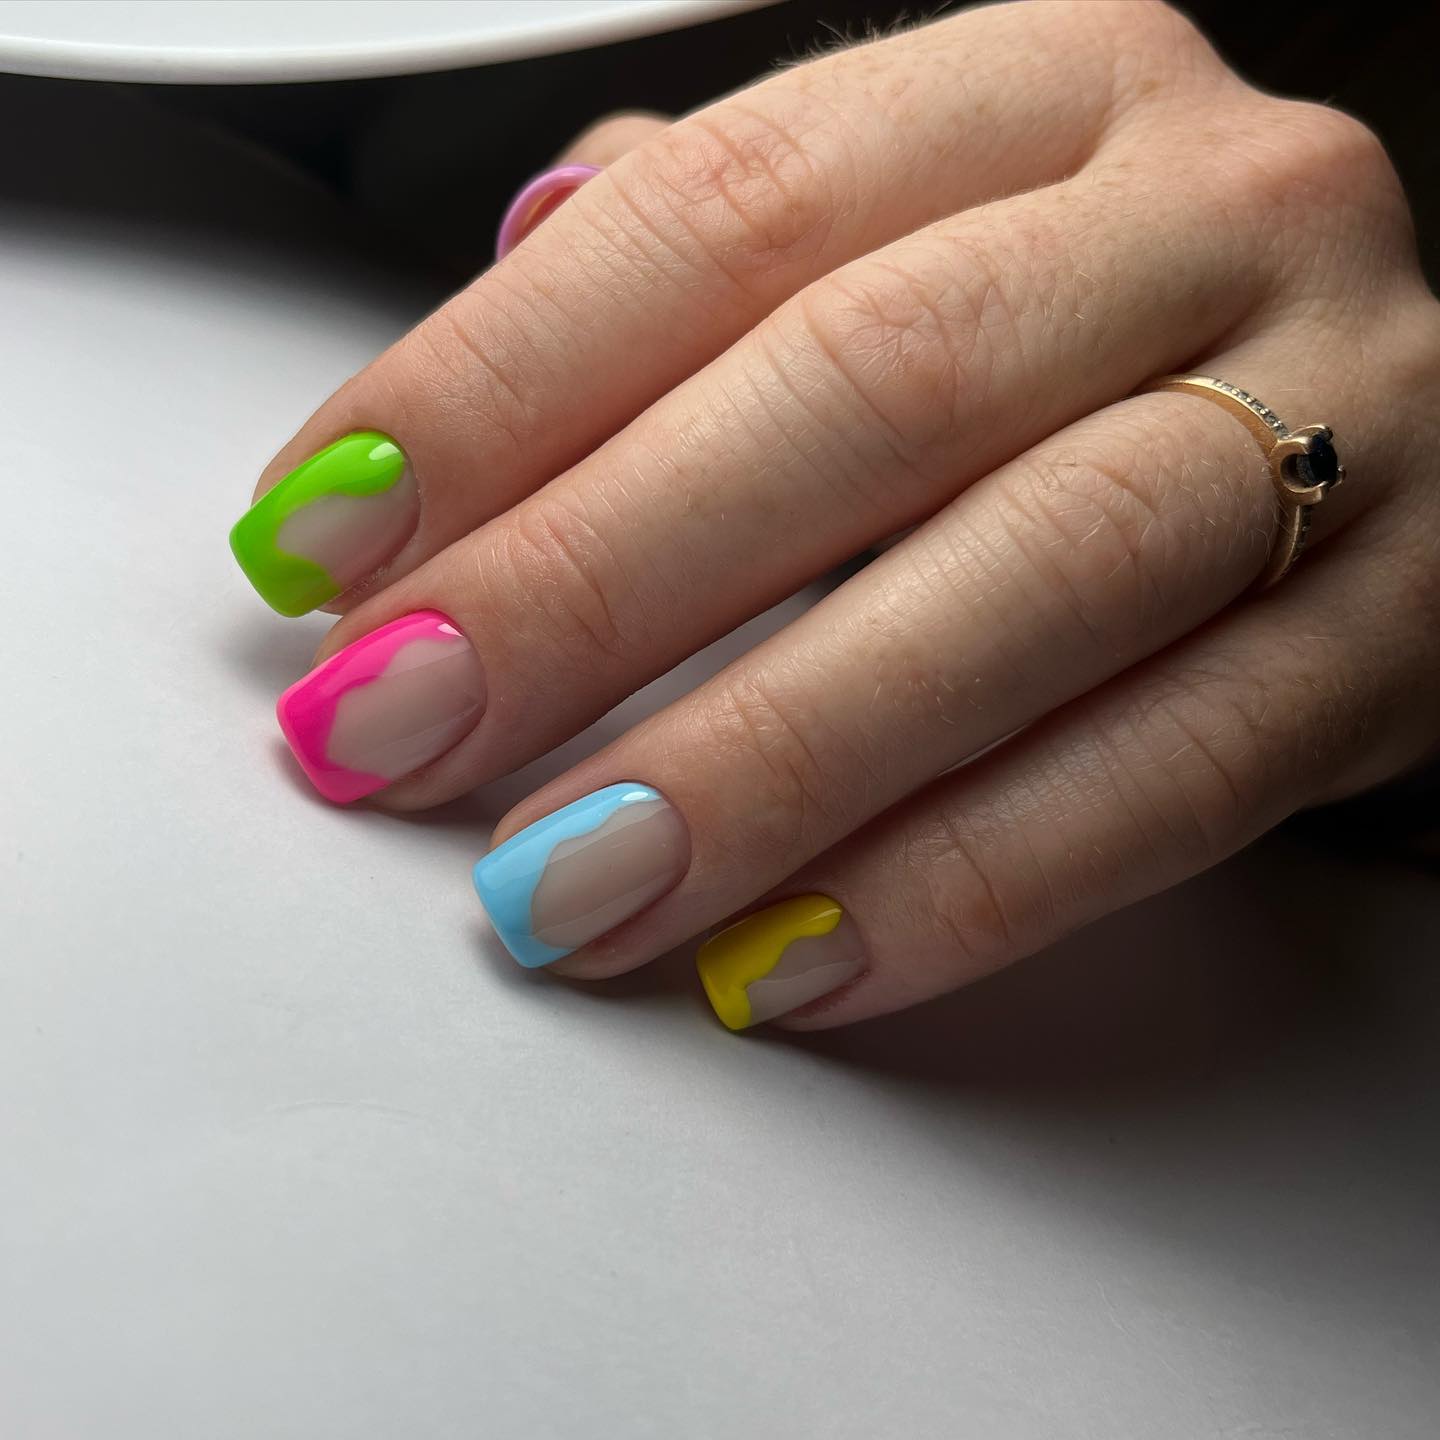
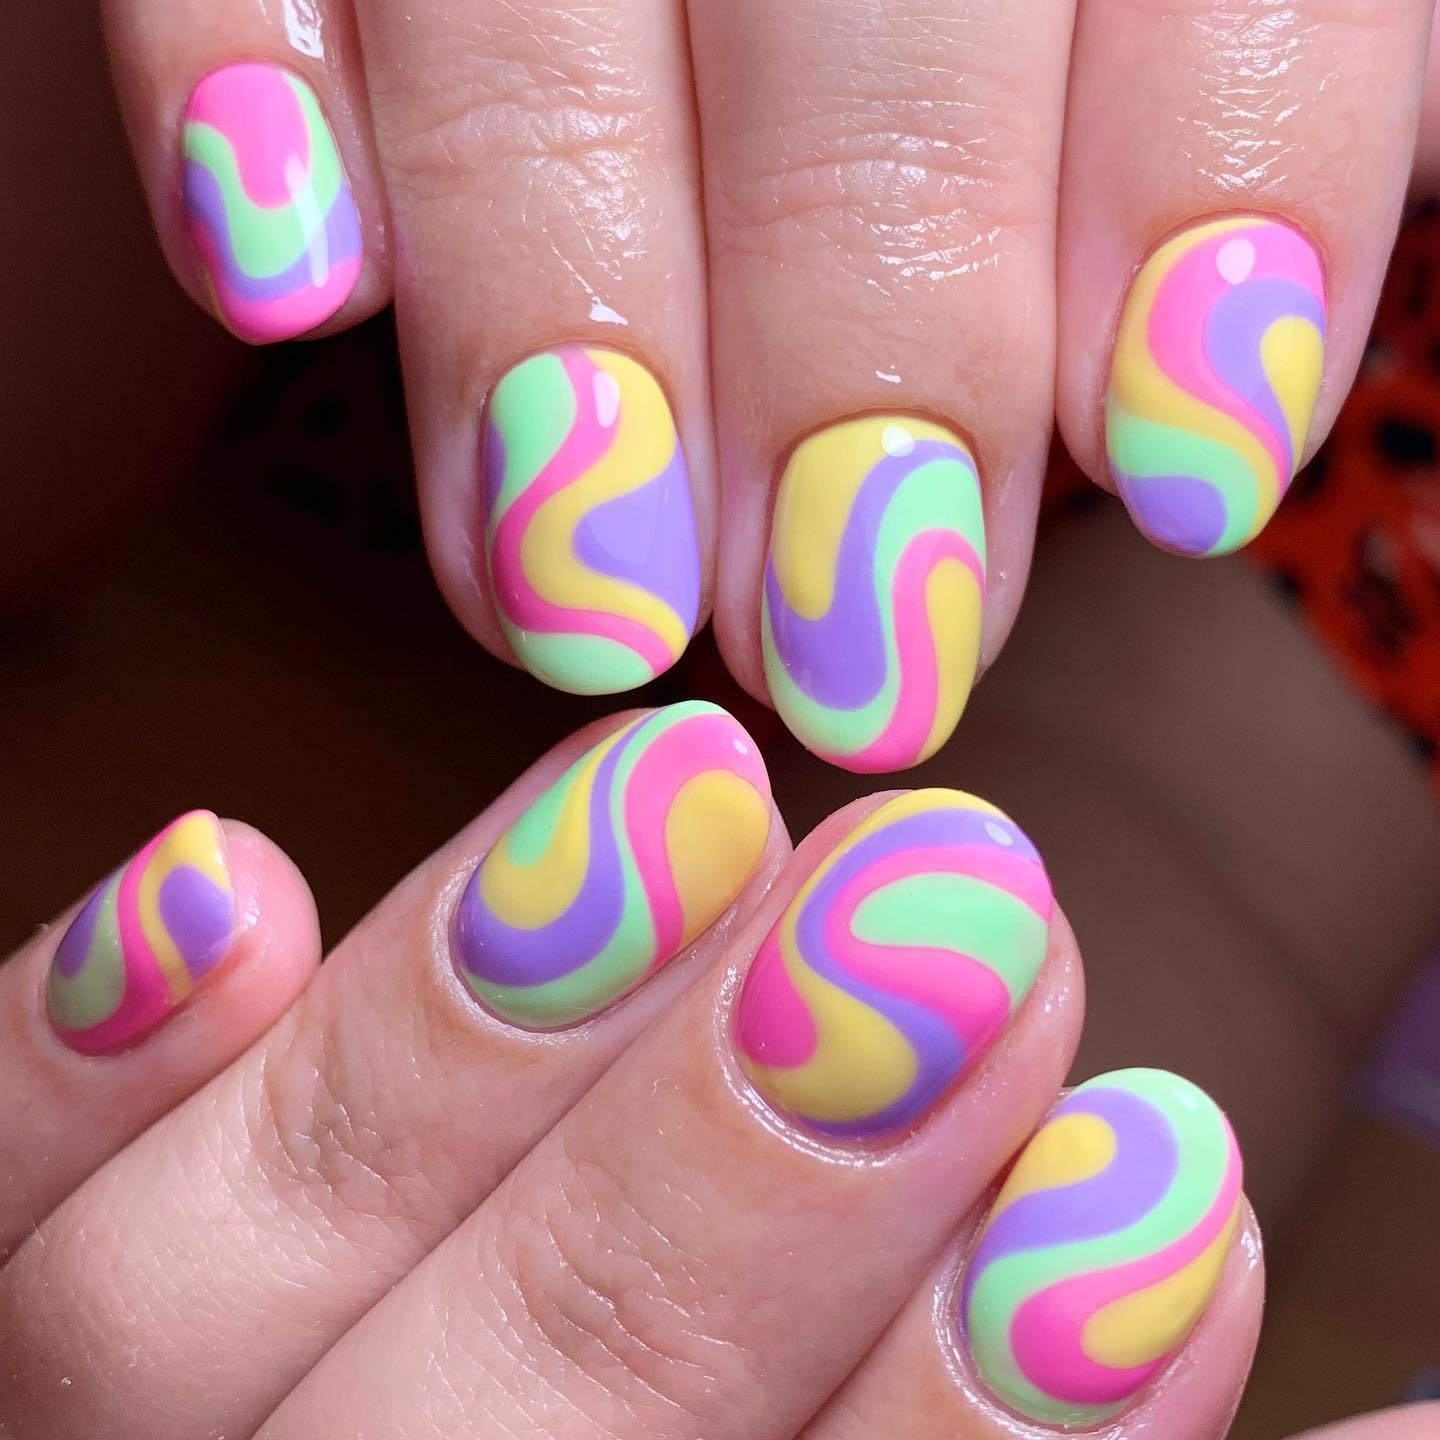
via @that.nailplace
8. Enjoy Versatility With Glitter Rainbow Nails
Glitter nails give you the freedom to go bold and try different kinds of nail looks. The sparkly, colorful nails have a unique appeal and sophistication. For a glamorous essence, try rainbow glitter nails. You can stick with French glitter nails when going on a holiday or a date.
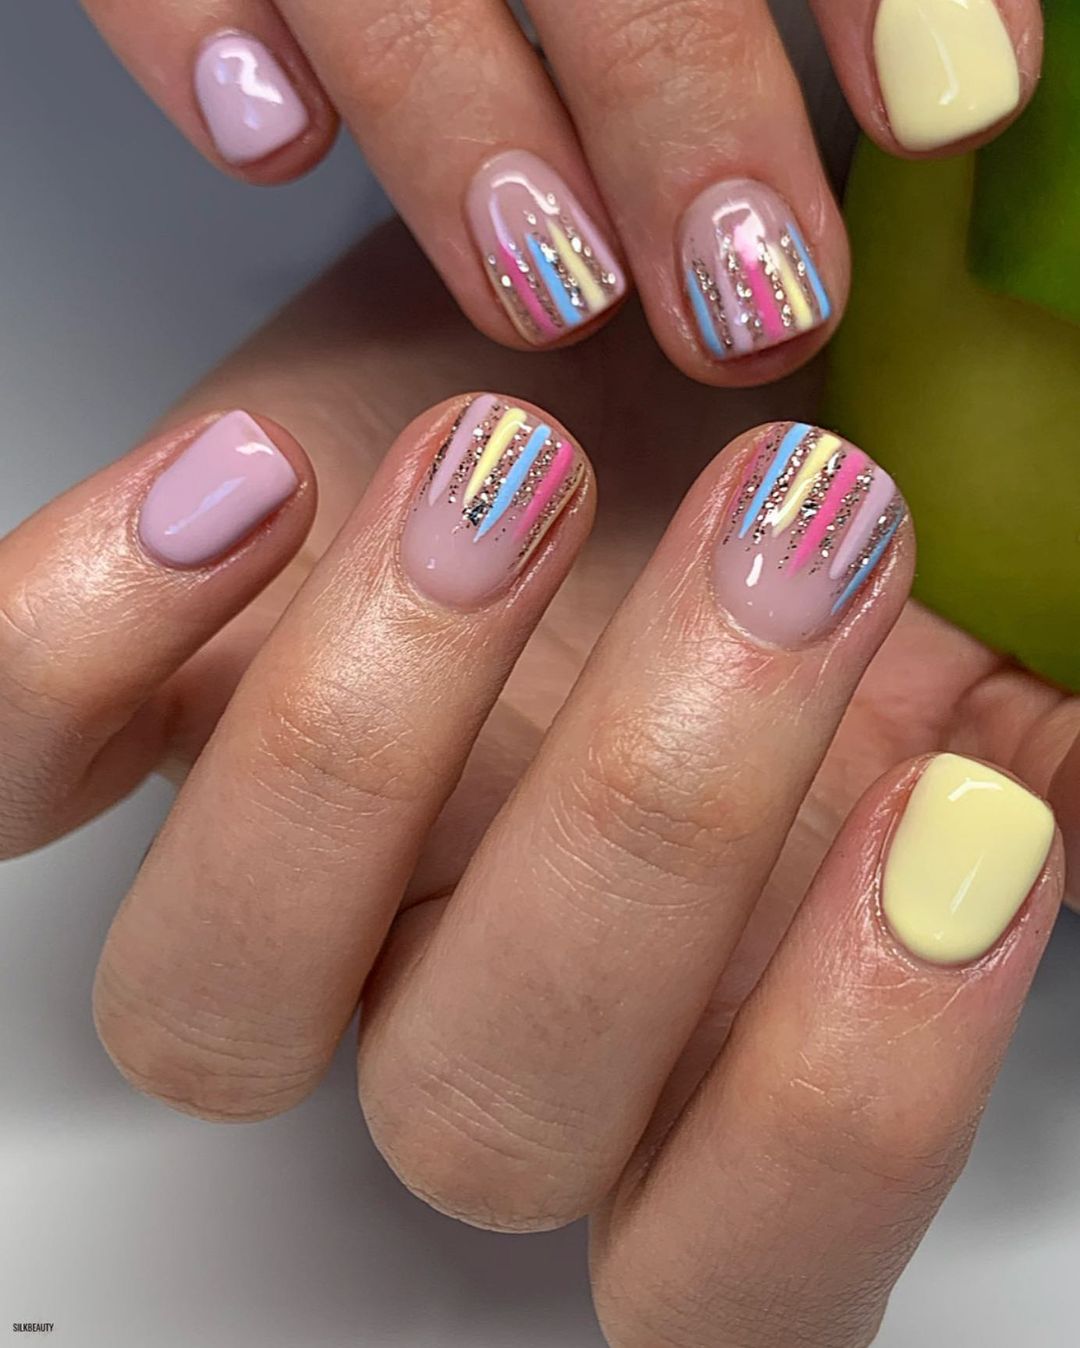
via @silkbeauty.uk
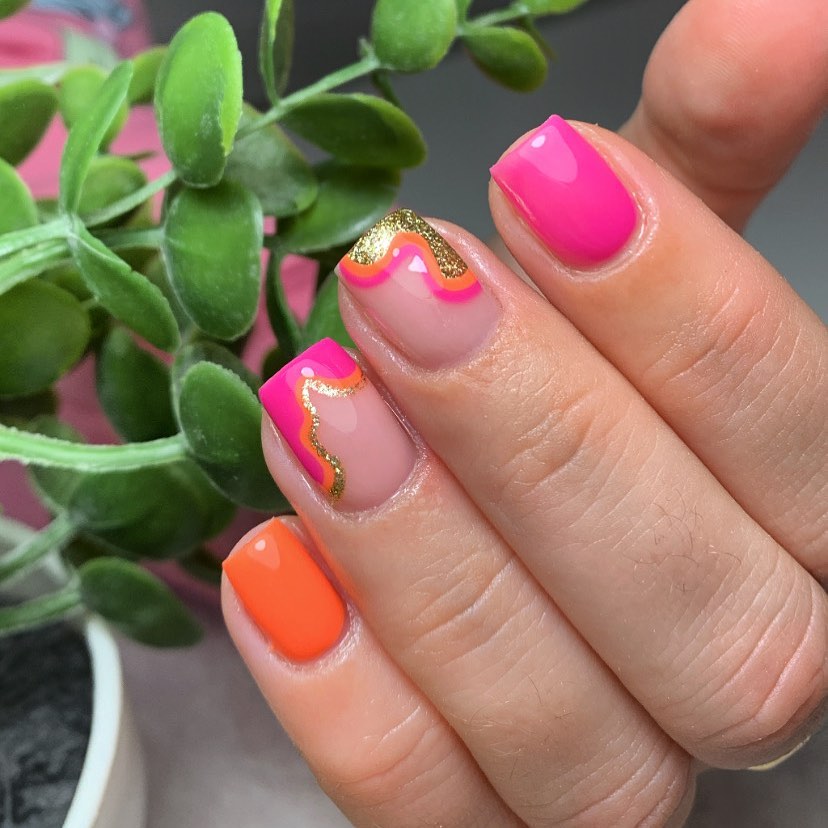
via @zo_nailsx
9. Rainbow Nails with Other Patterns for Sparkle & Joy
Rainbow nails are pretty popular. You can try various nail designs. The distinct advantage of choosing rainbow colors is that you have multiple color choices. Other patterns you can try include animal prints on nails, glitters, holographic finishes, neon dots, cotton candy designs on well-groomed nails, sunset patterns, striped rainbow, and more.
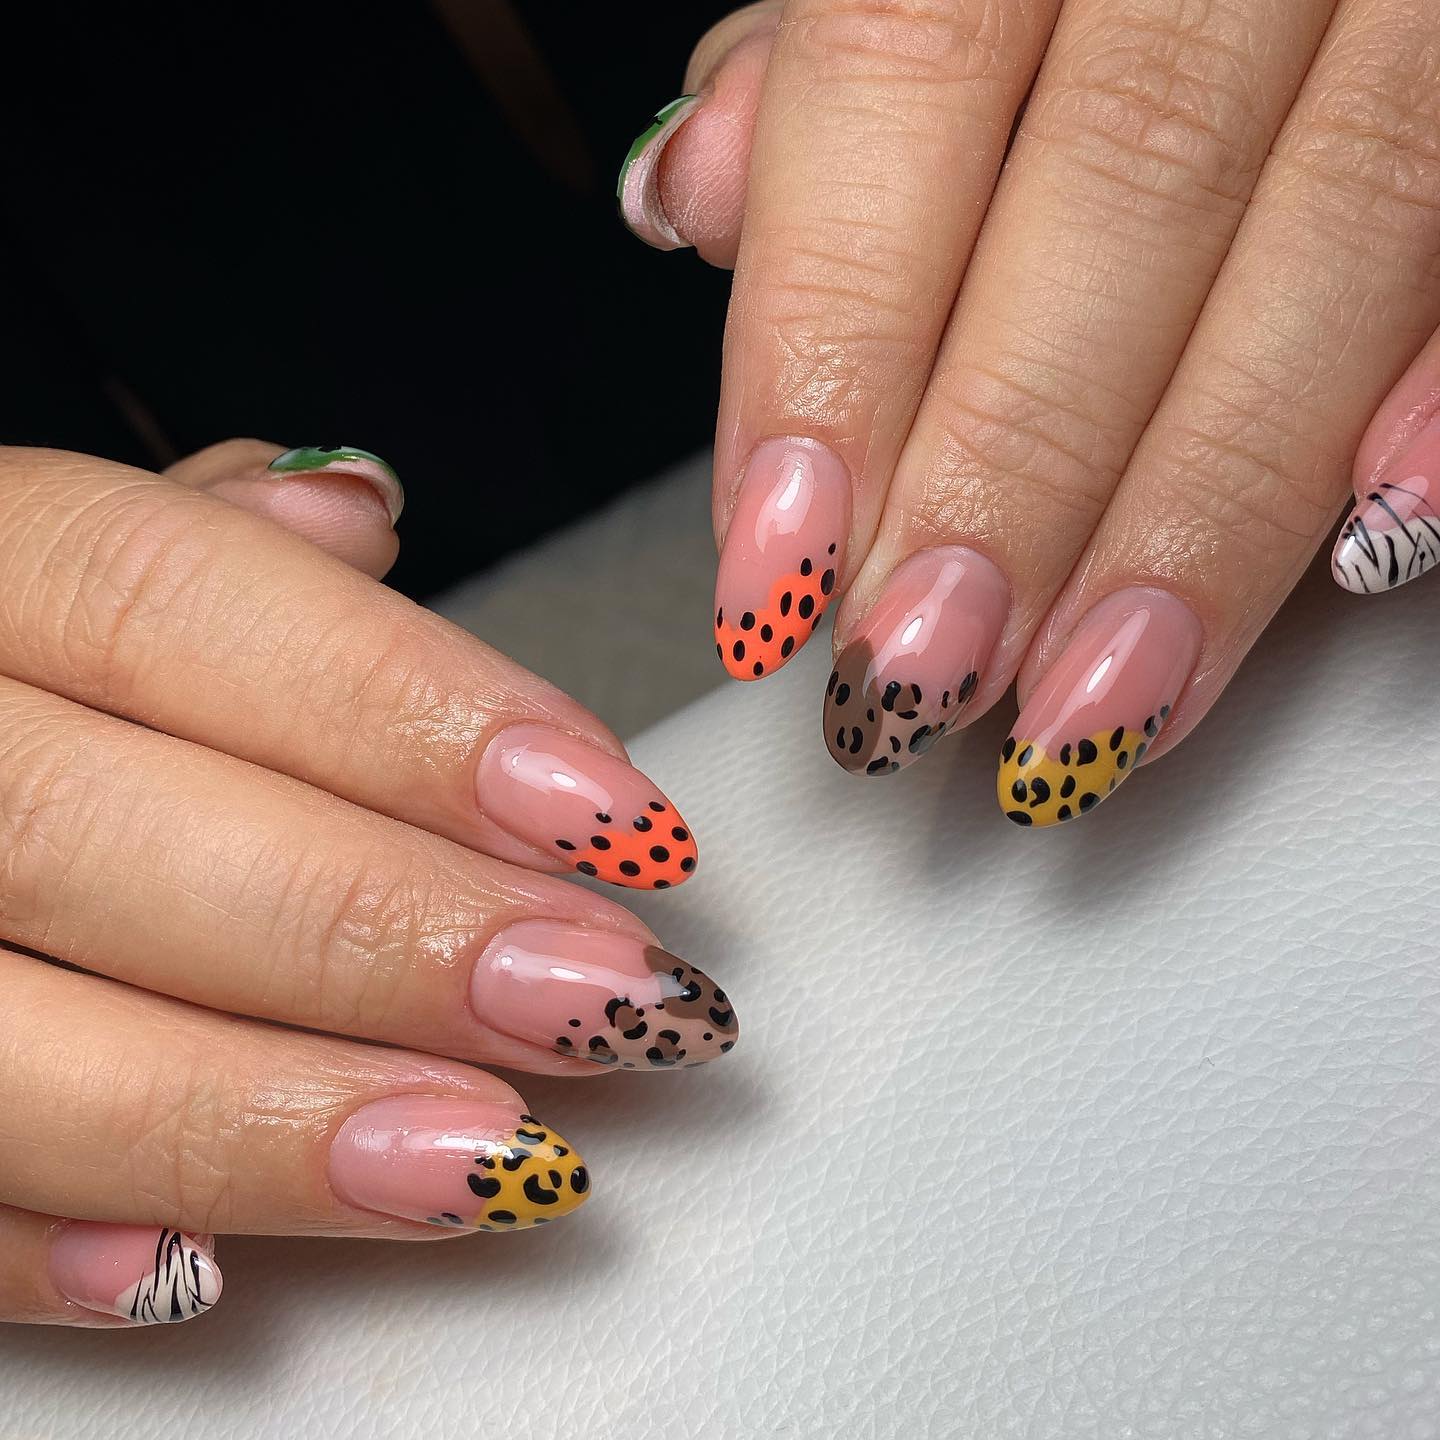
via @b.beautiful.you
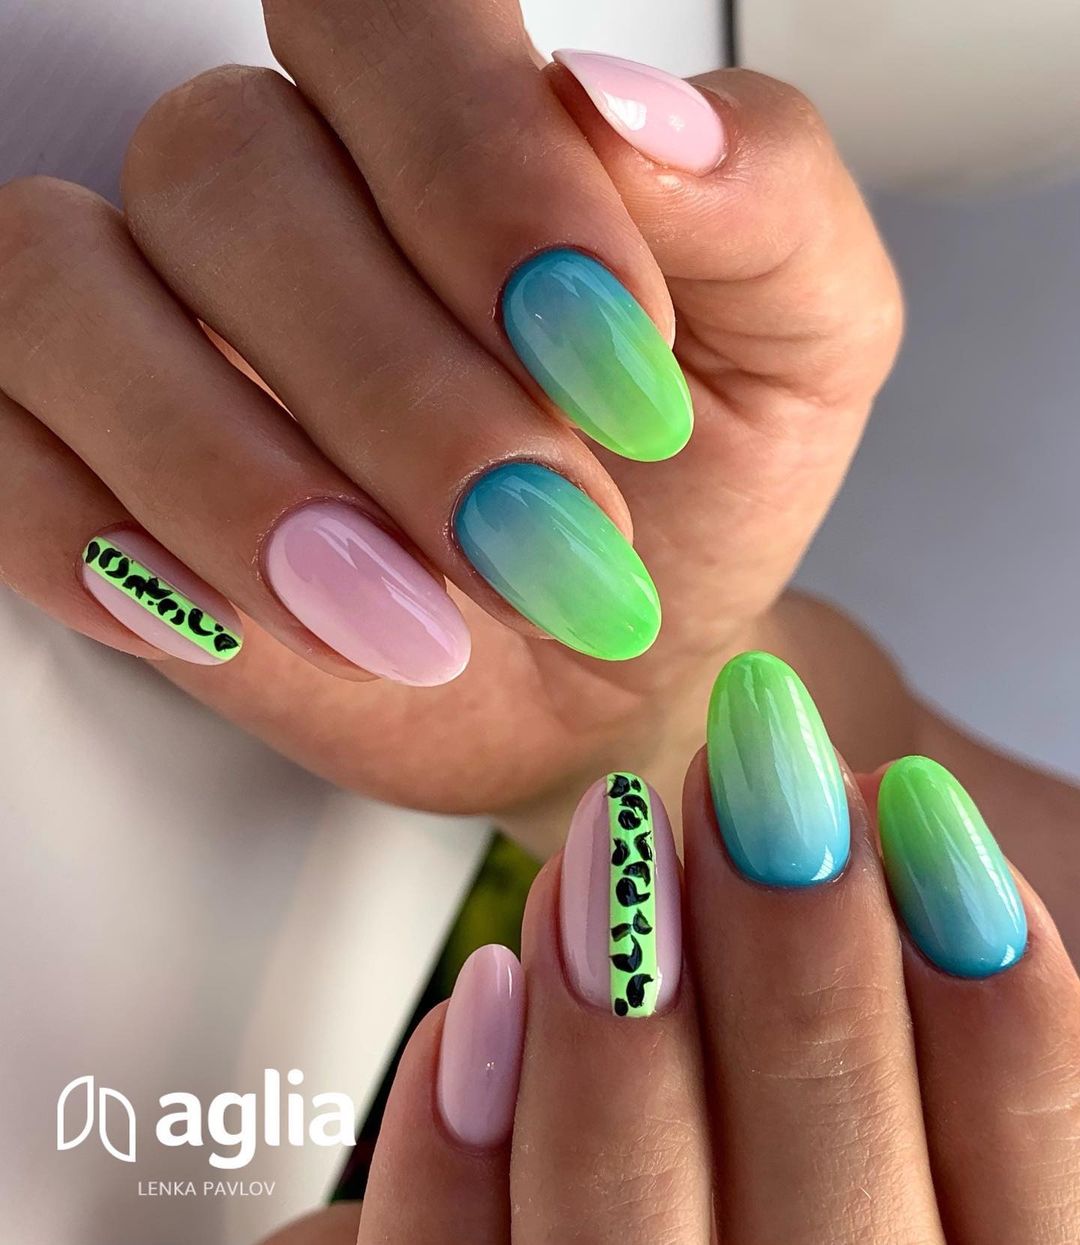
via @lenka.thegreat
10. Rainbow Smiley Faces on Nails for a Delightful Day
Smiley nail stickers can pep up the day in so many ways. Look at your hands every time you feel sad or down, and you will have reasons to smile. Try a simple nail design with smileys of different colors on a translucent base. With smiley face nail art, focus on using the yellow color to radiate warmth.
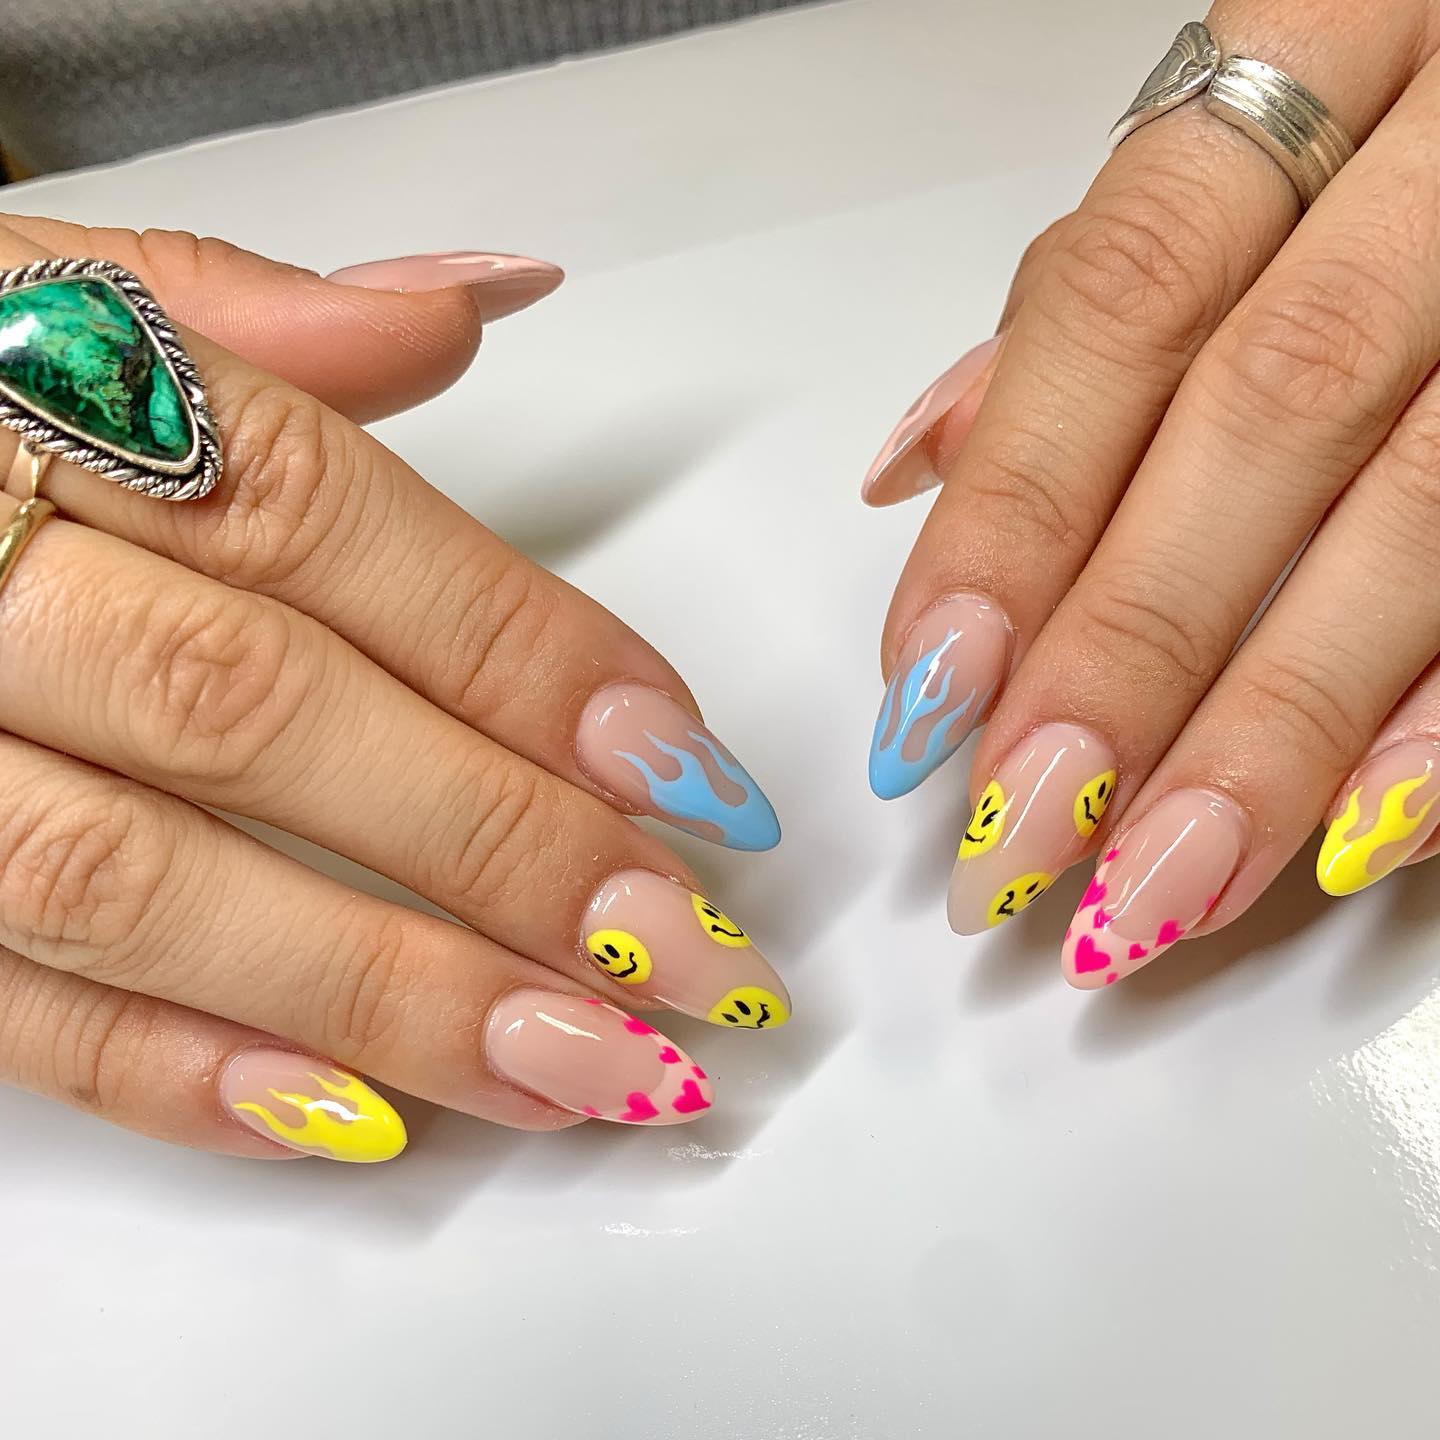
via @addictedbydina
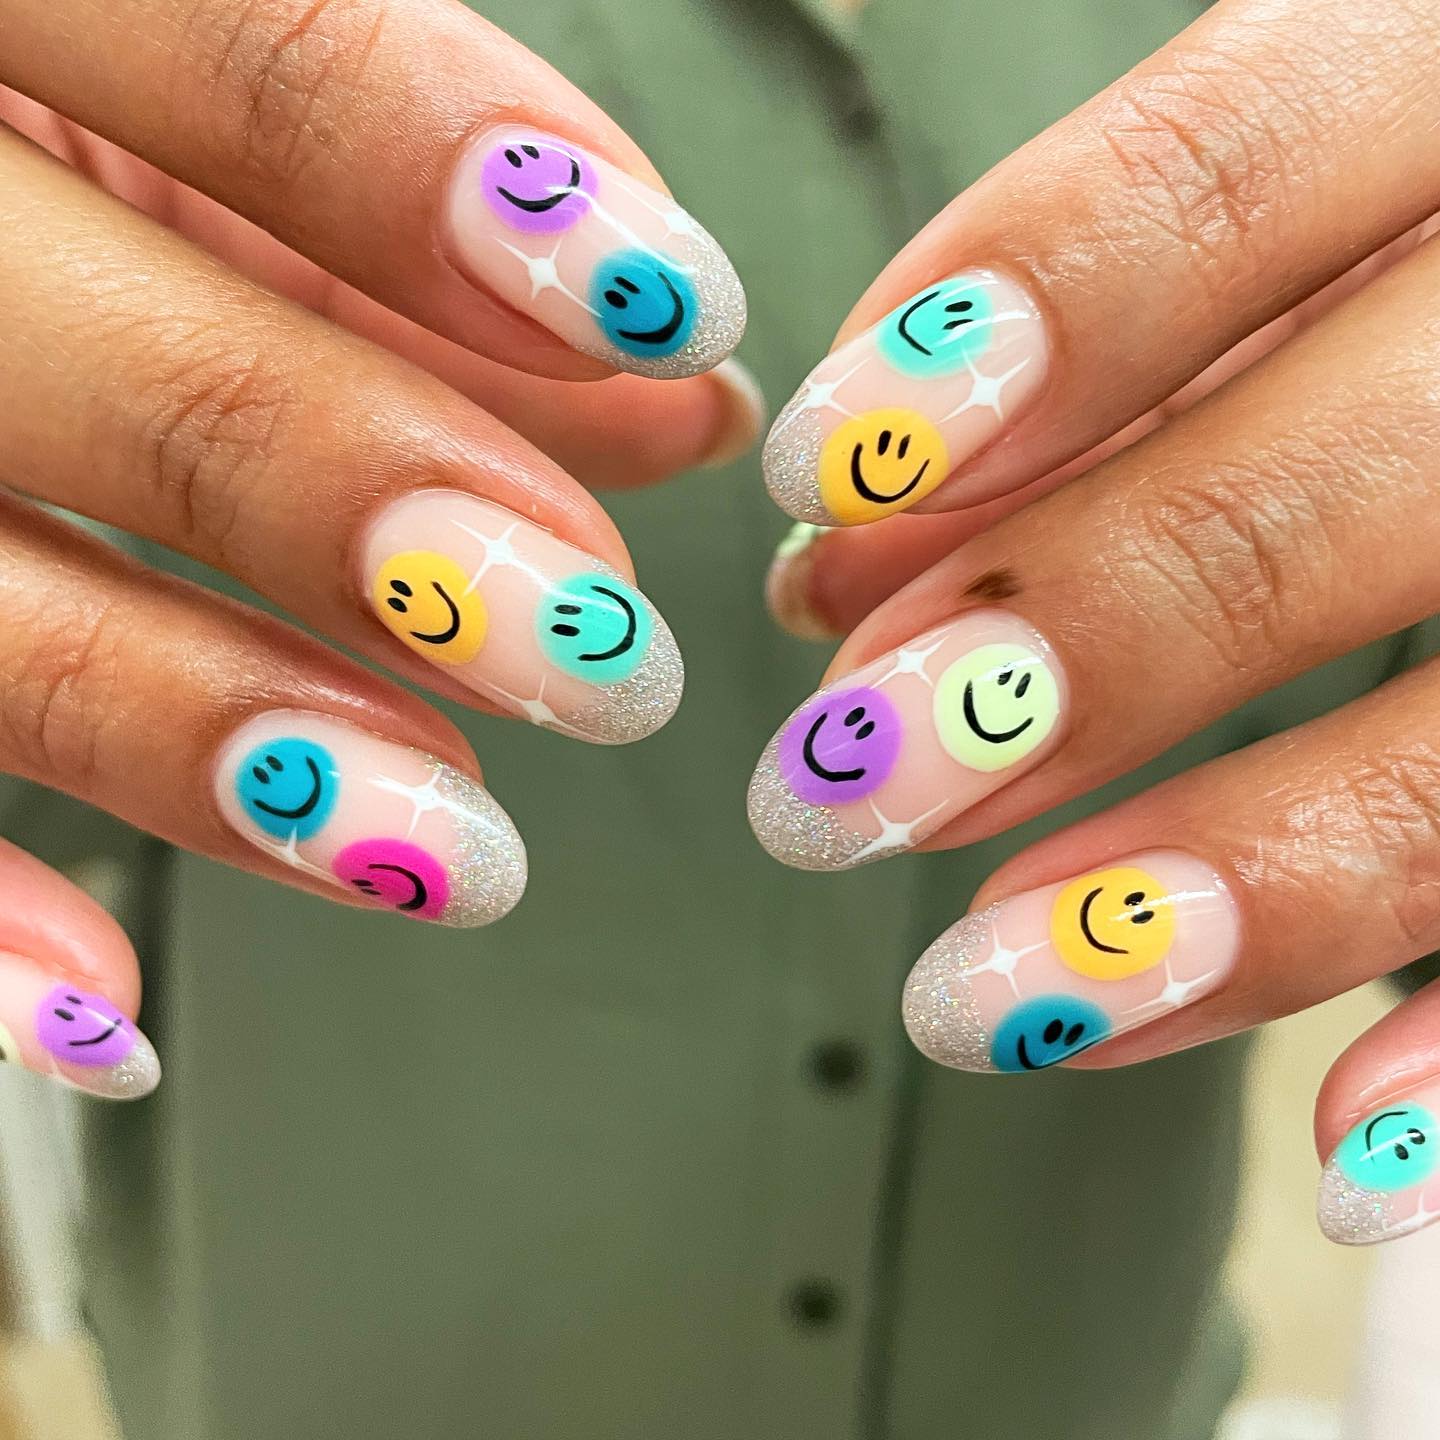
via @nail.huns
11. Rainbow Art Across the Nails Showcase Your Creativity
The rainbow is an attractive natural element due to its multi-color look. On a nude base, rainbow nail art looks fantastic. DIY to get creative as this art form suits any nail shape and size.
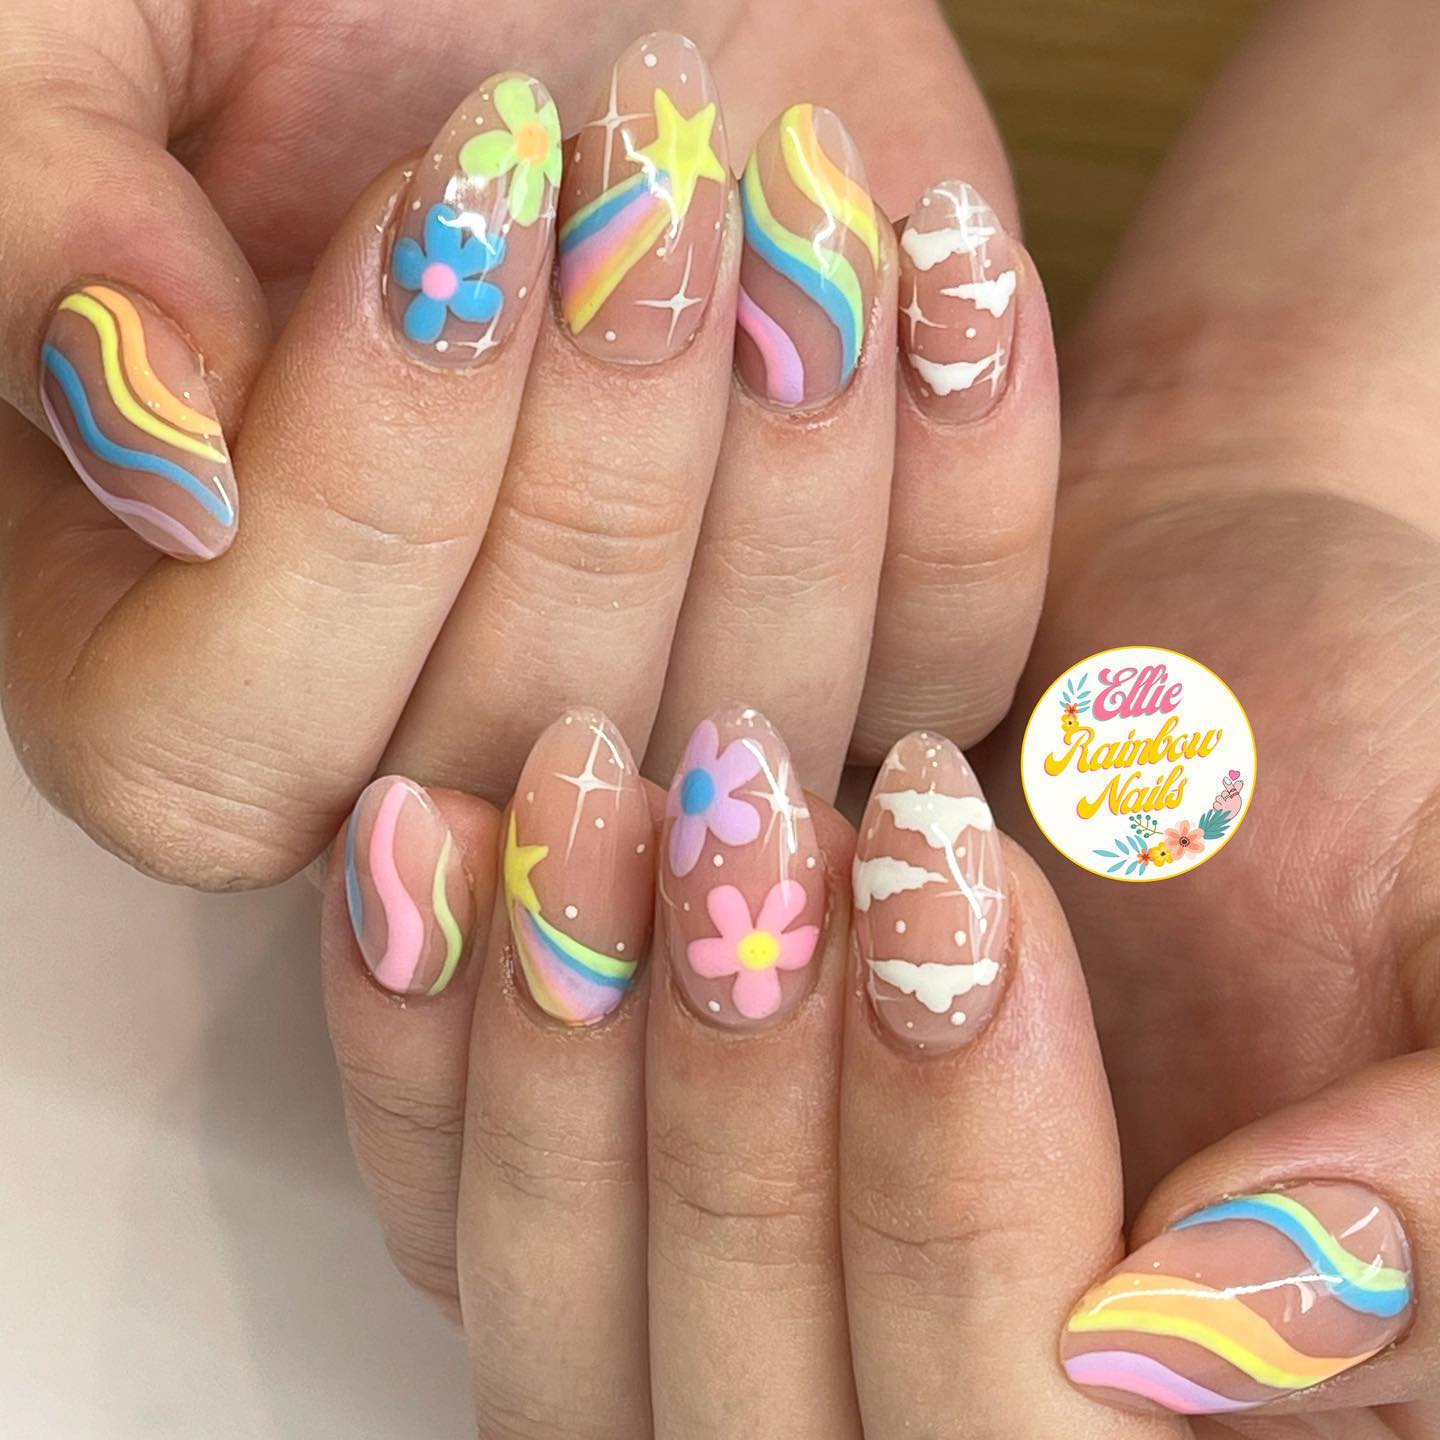
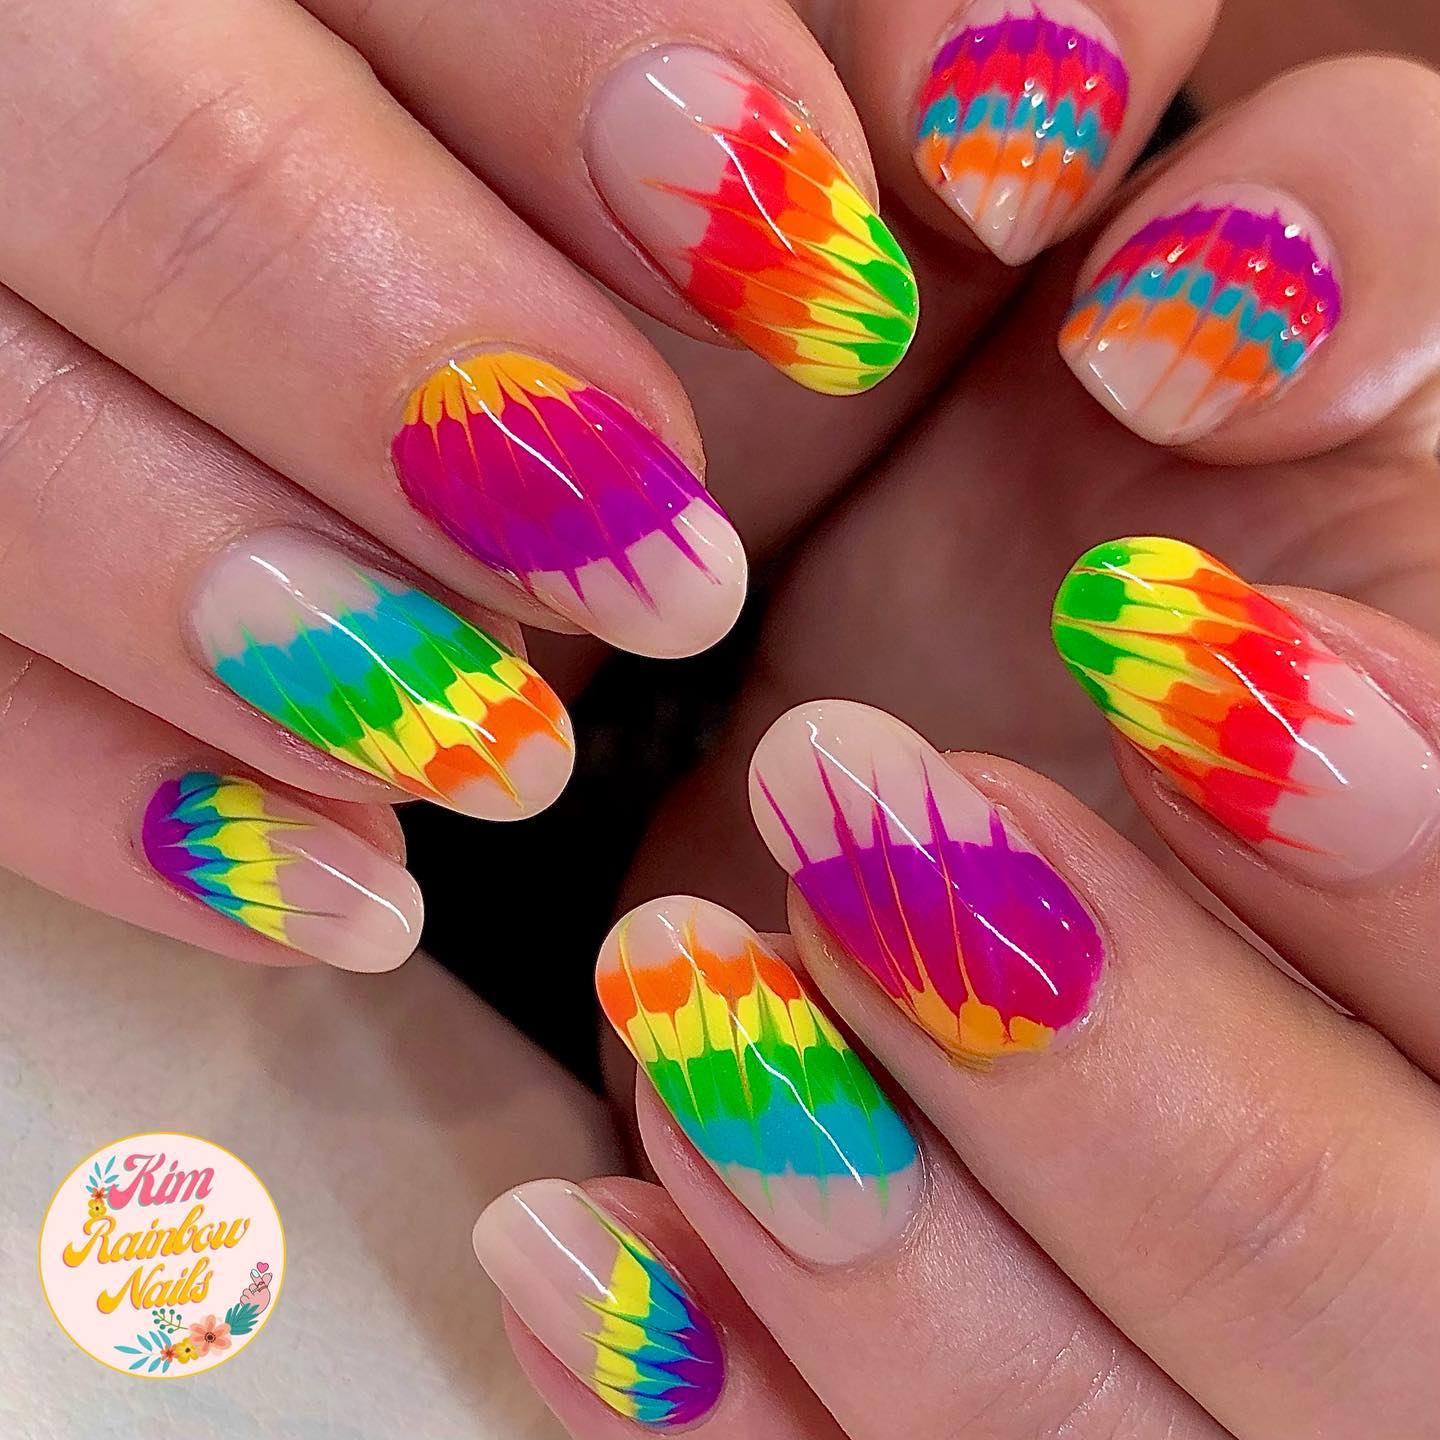
via @kimrainbownails
12. For a Sleeker Look – Rainbow Design on Black Nails
Black nails with designs in rainbow colors have a retro feel. This is because of the black color that is power-driven. Rainbow nail art on a black base gets the color to pop up. Add colorful stripes to cover the nails or tips for a striking look.
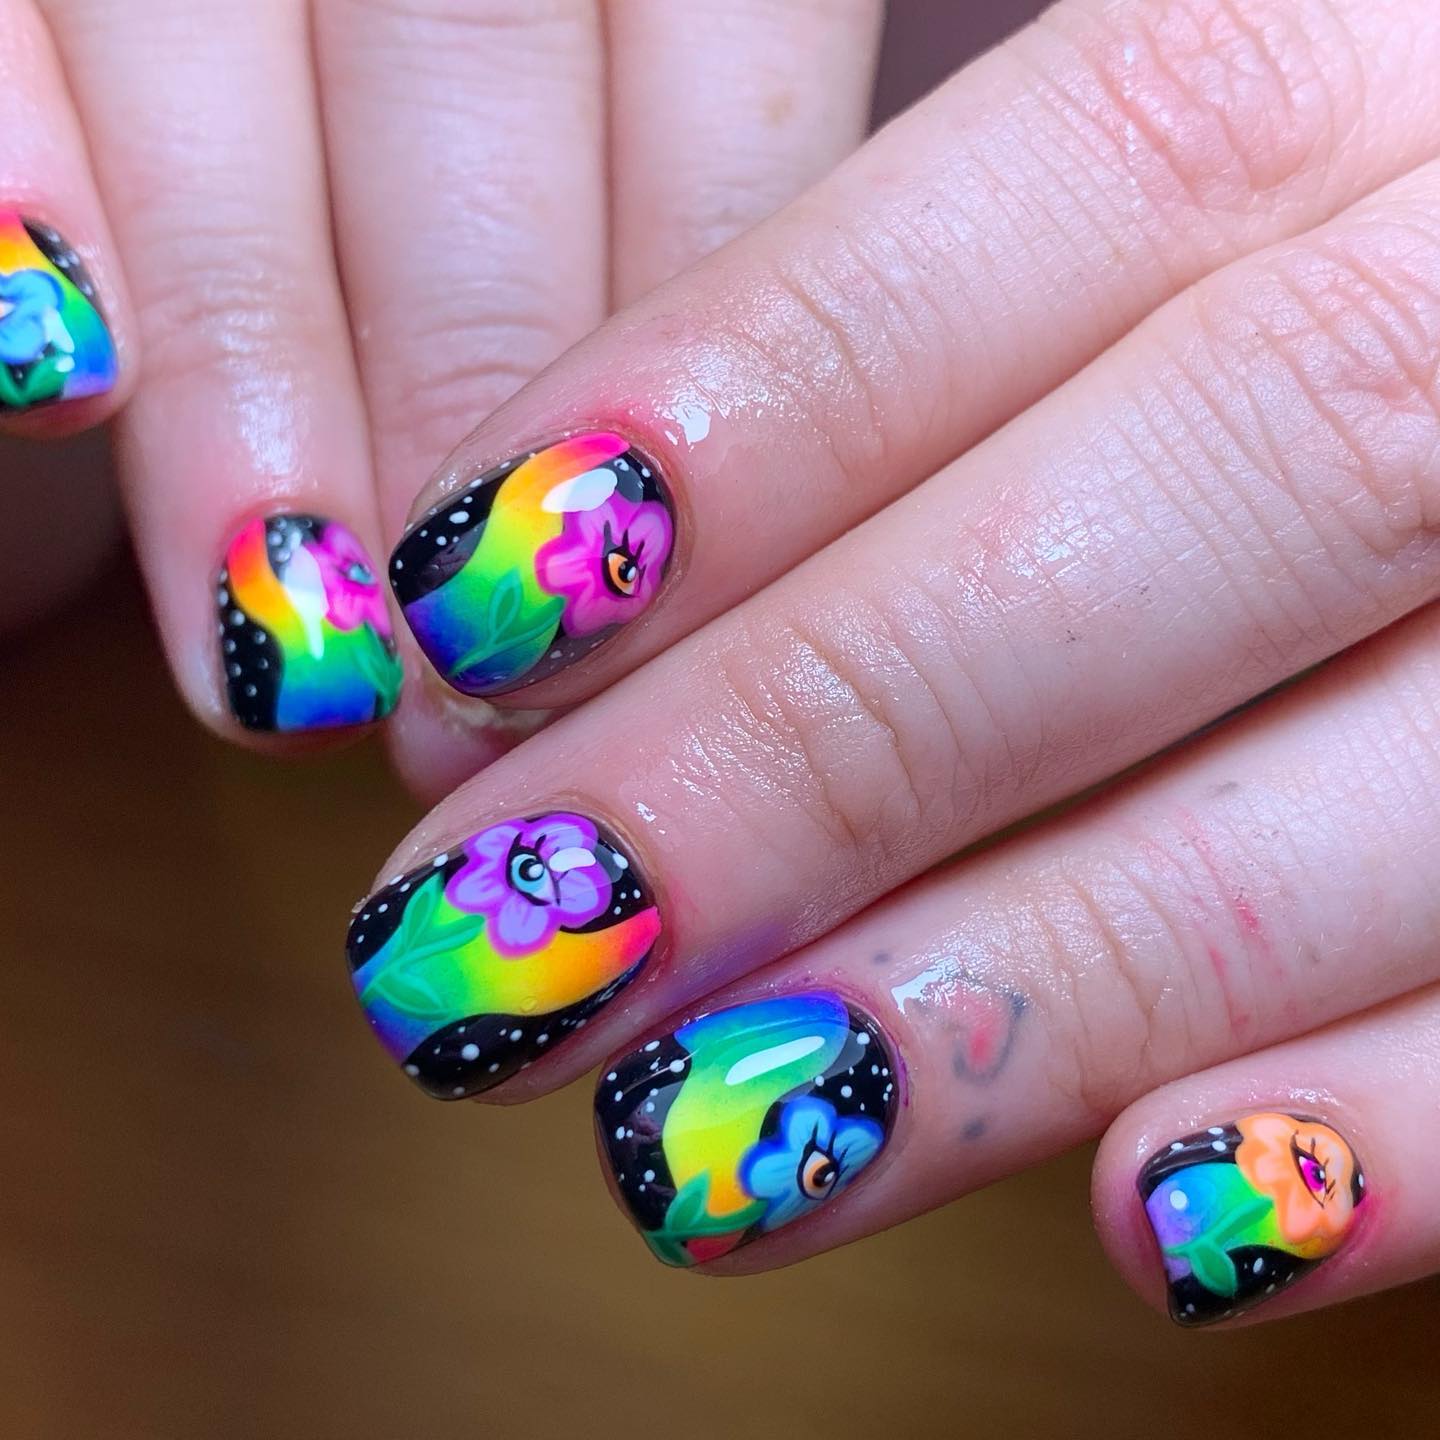
via @that.nailplace
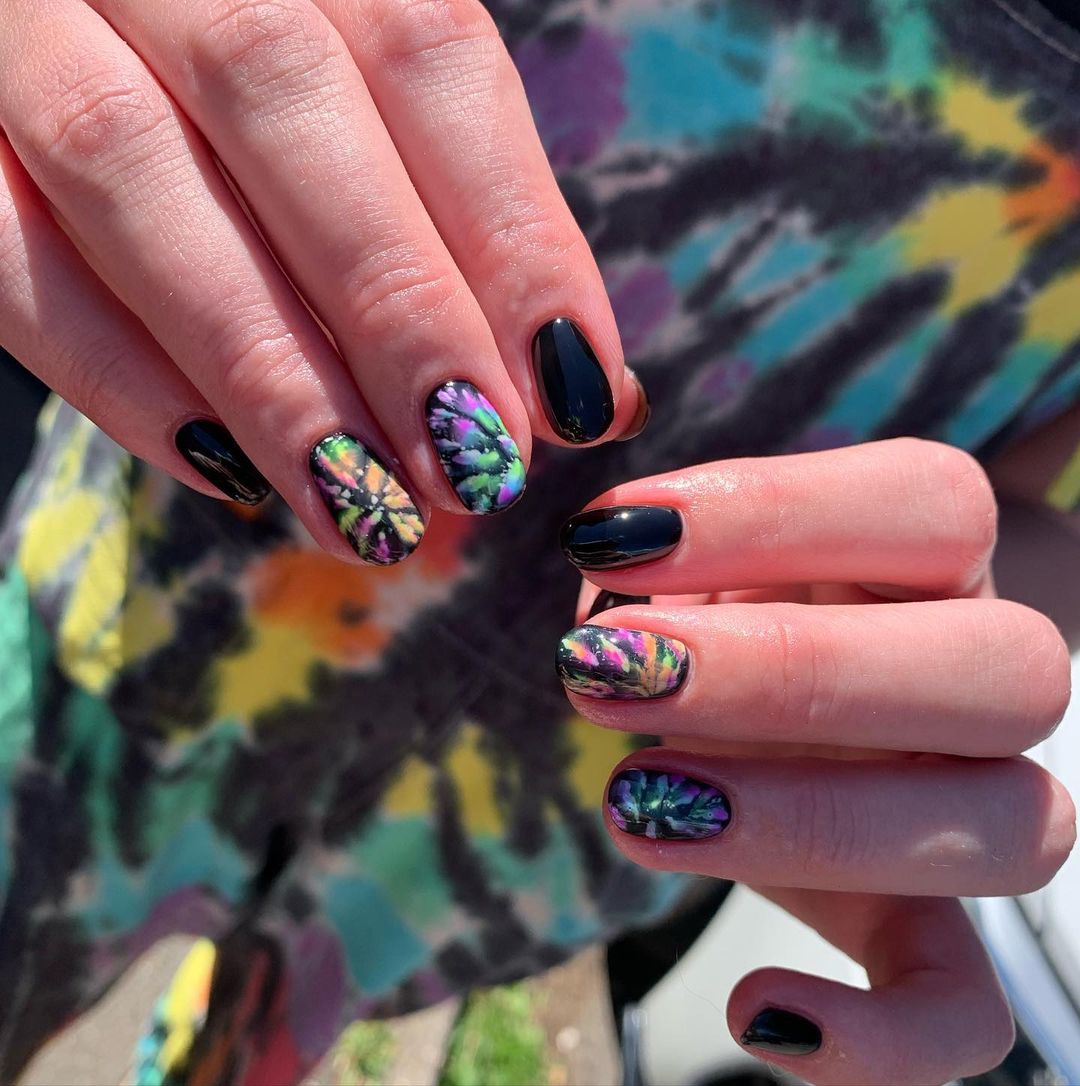
via @that.nailplace
13. Matte Rainbow Nails for a Style Statement
Create a statement with matte nail designs. Add rainbow hues to make it look elegant and lovely. Colorful matte nails on shimmery or metallic bases can charm you and the entire room. It’s the perfect accessory for long or short fingernails.
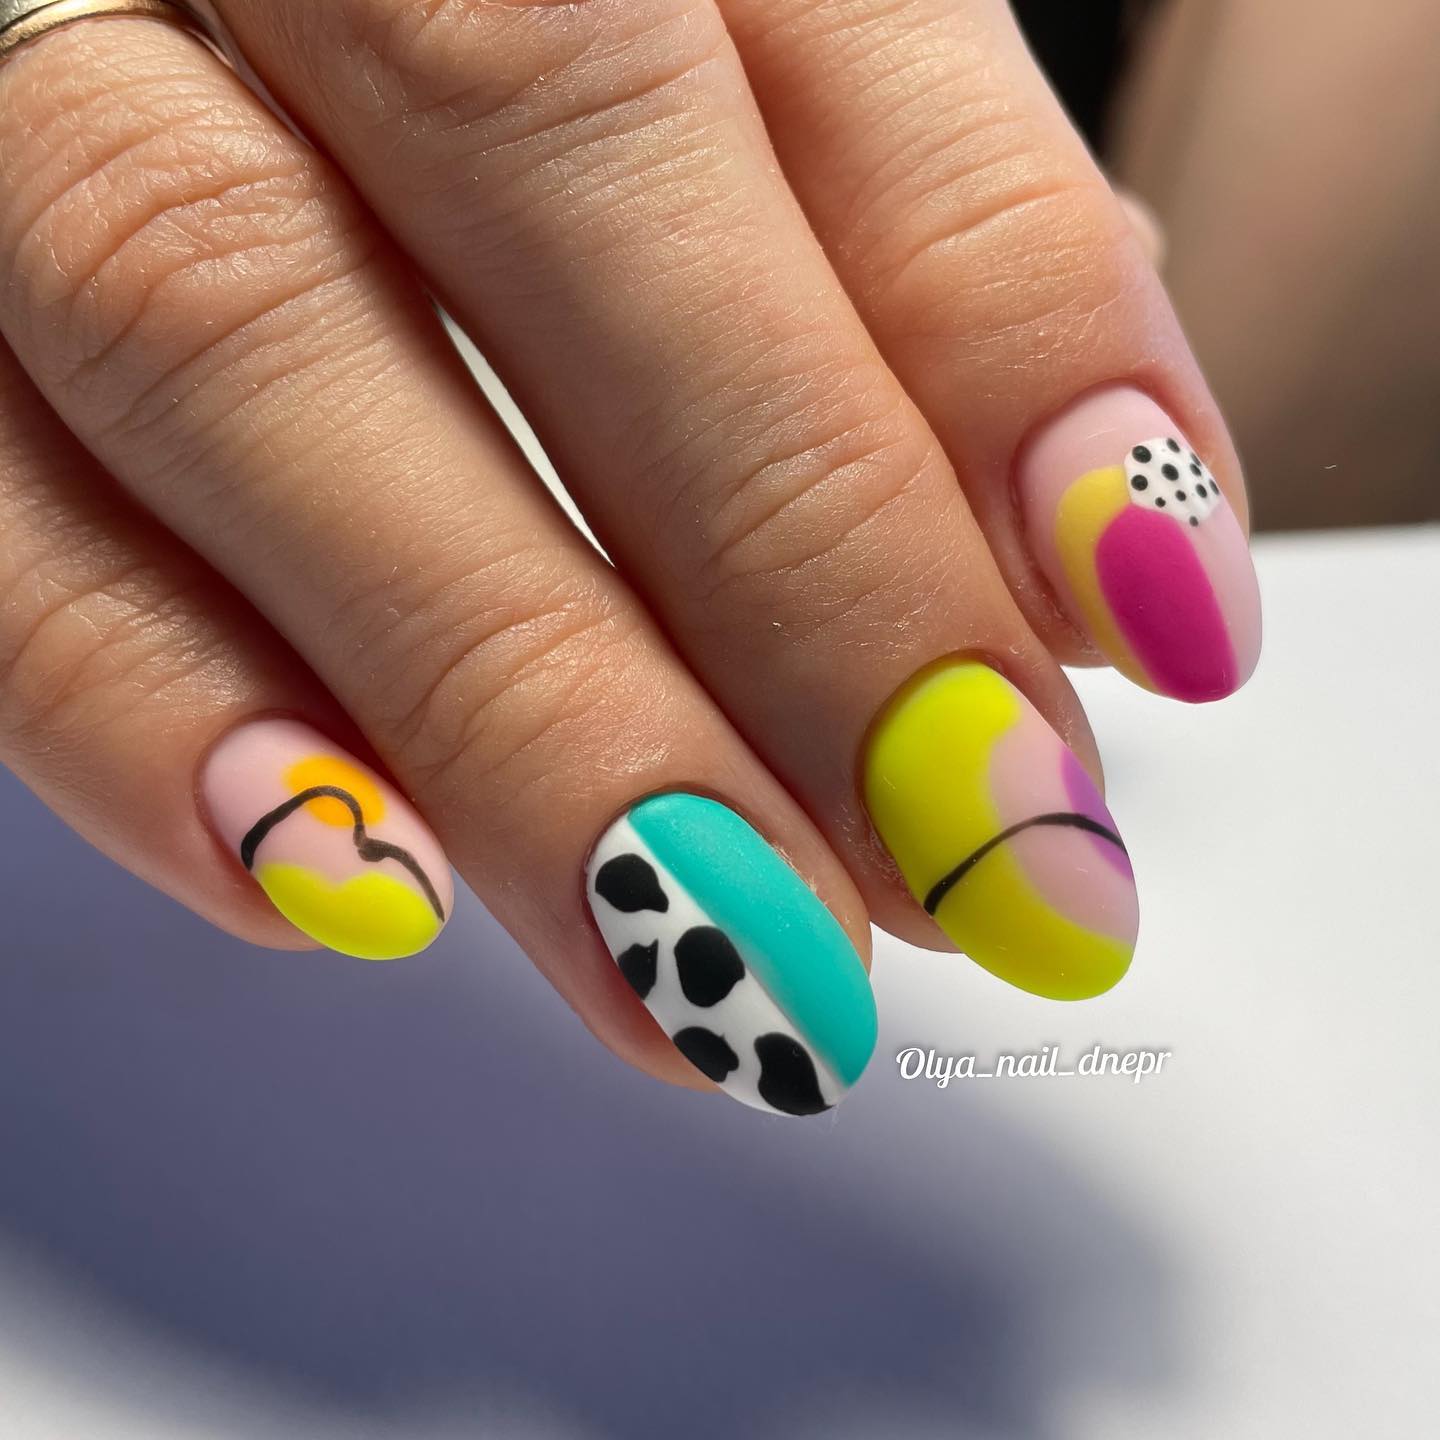
via @olya_nail_dnepr
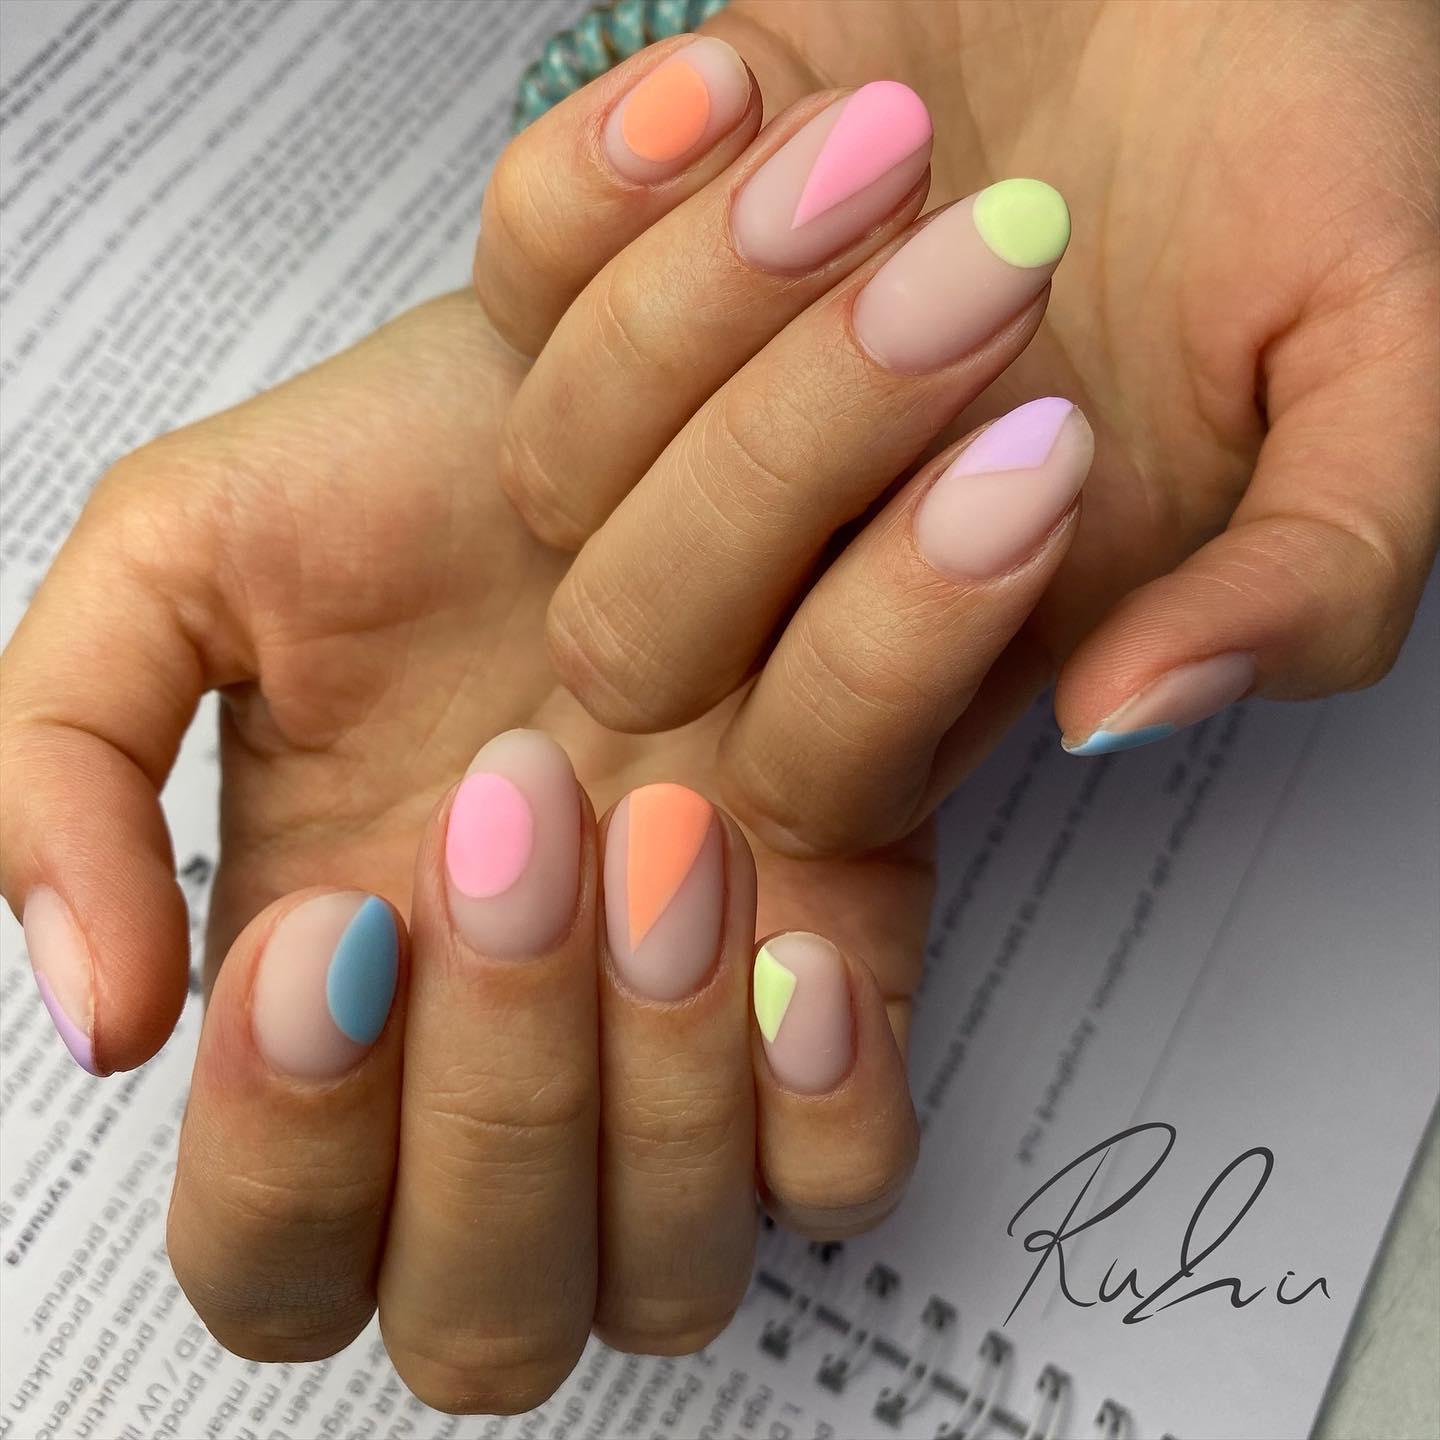
via @rinazaitistudio
14. Rainbow Chrome Nails to Look Reflective
Want the new-gen look? Go in for chrome, playful manicure designs. Chrome nails have a strong reflective or metallic look that gives a mirrored finish appeal to the nails. Try chrome nail ideas with rainbow nail tips for a stunner creation.
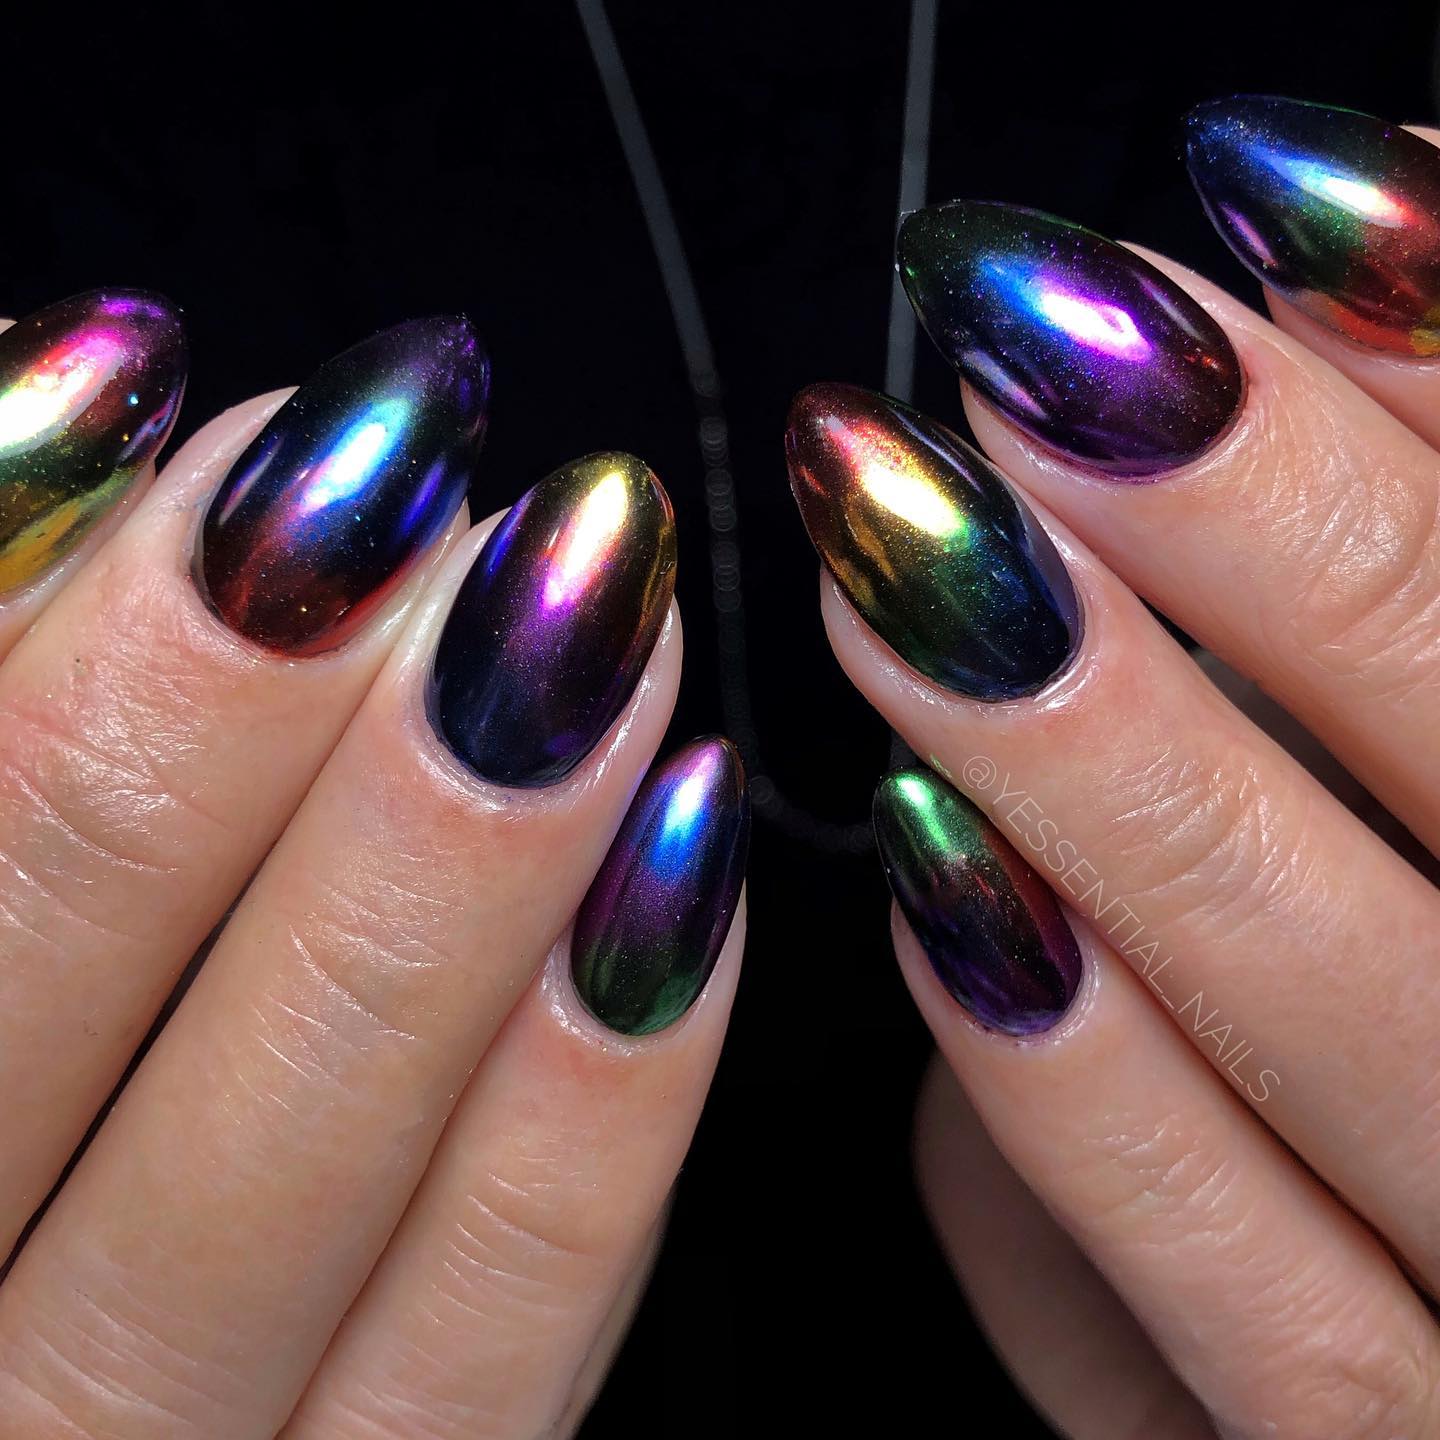
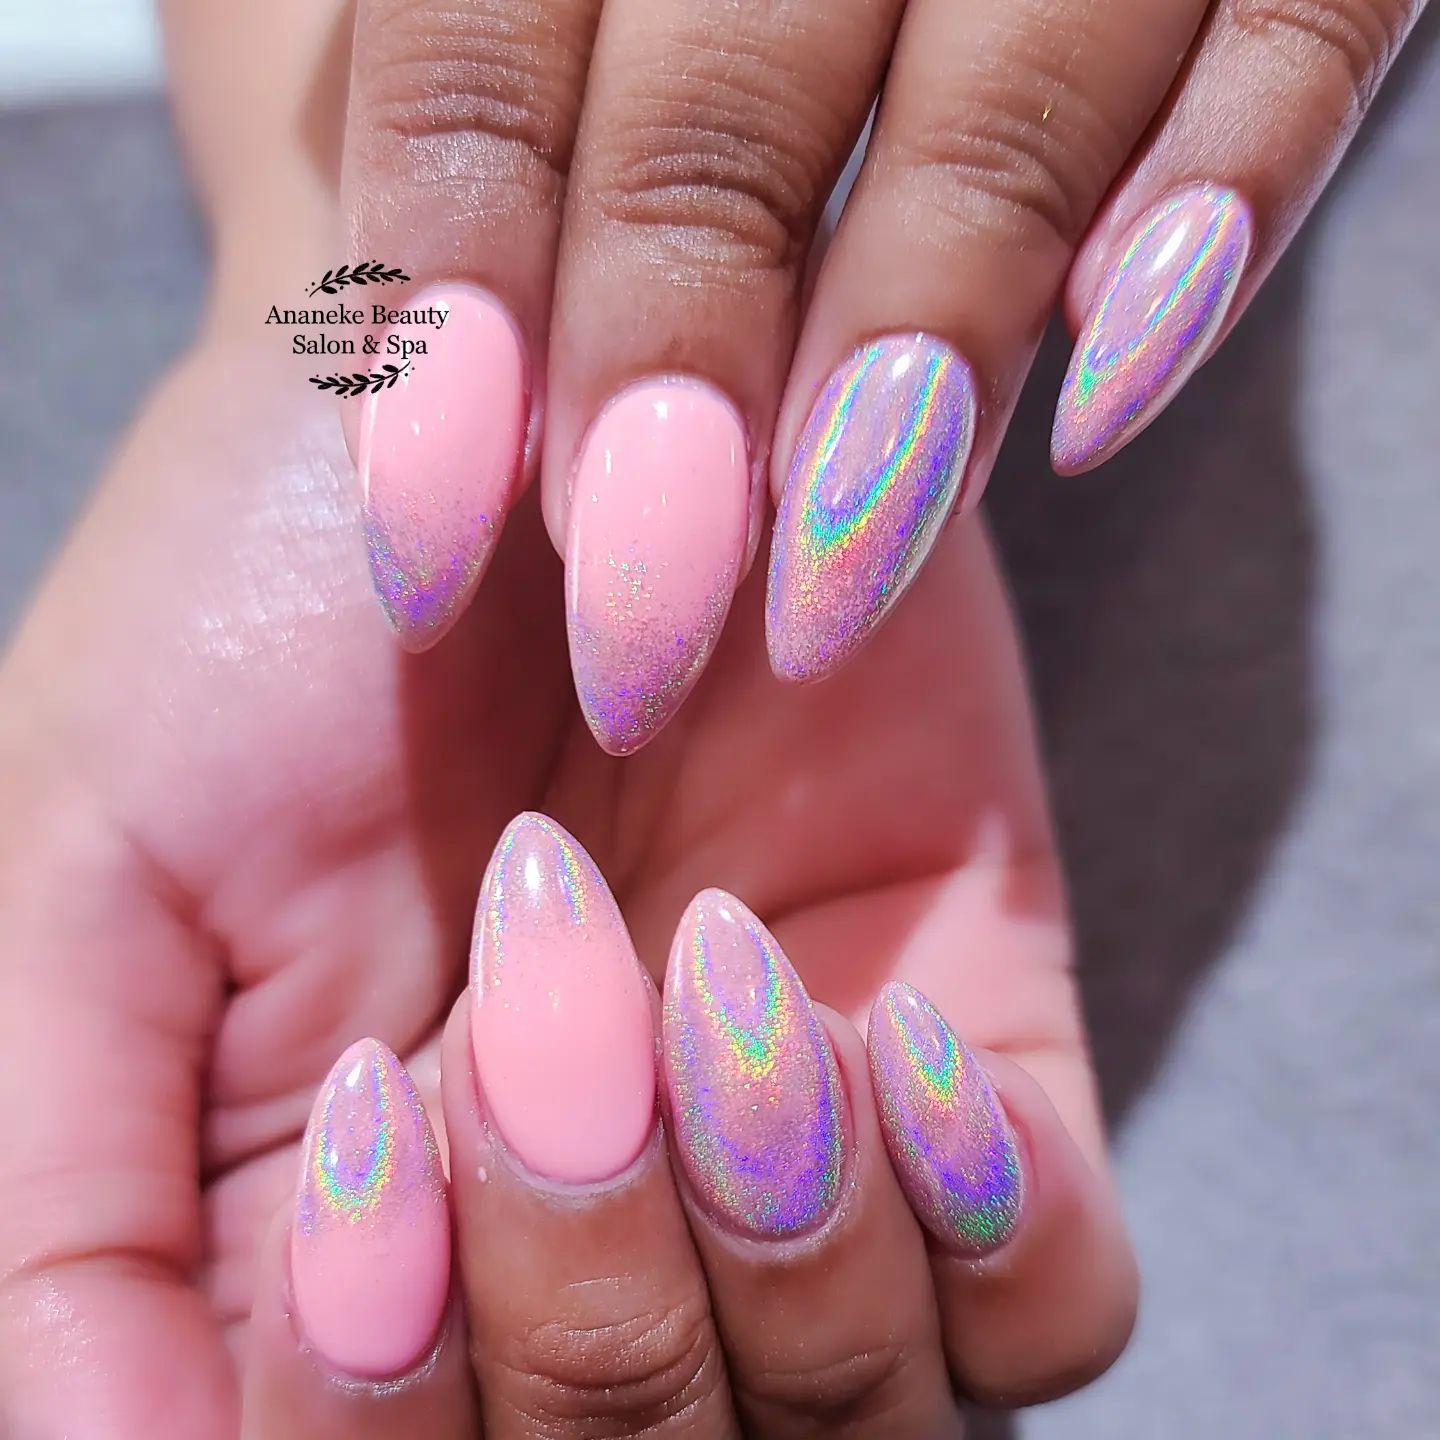
via @ananeke_beauty_salon_and_spa
15. Rainbow Stiletto Nails for a Fine Sculpted Look
A lot can be done, from smileys to rainbow French tips on stiletto nails. Some top stiletto nail ideas include a glittery finish and floral patterns for summer rainbow nails. This is an elegant design choice for your nails.
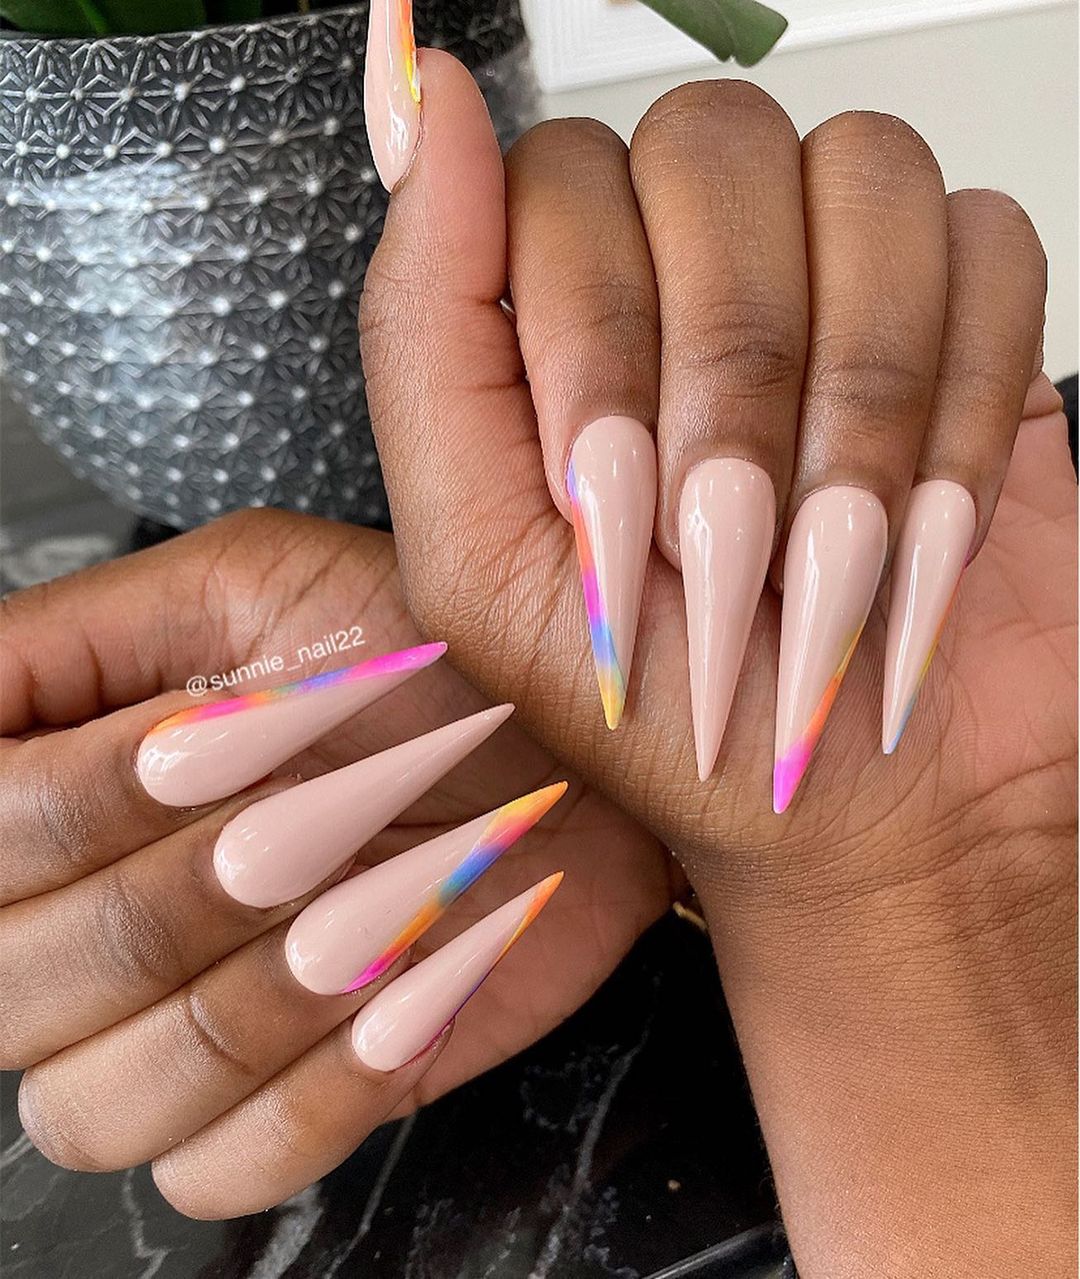
via @sunnie_nails22
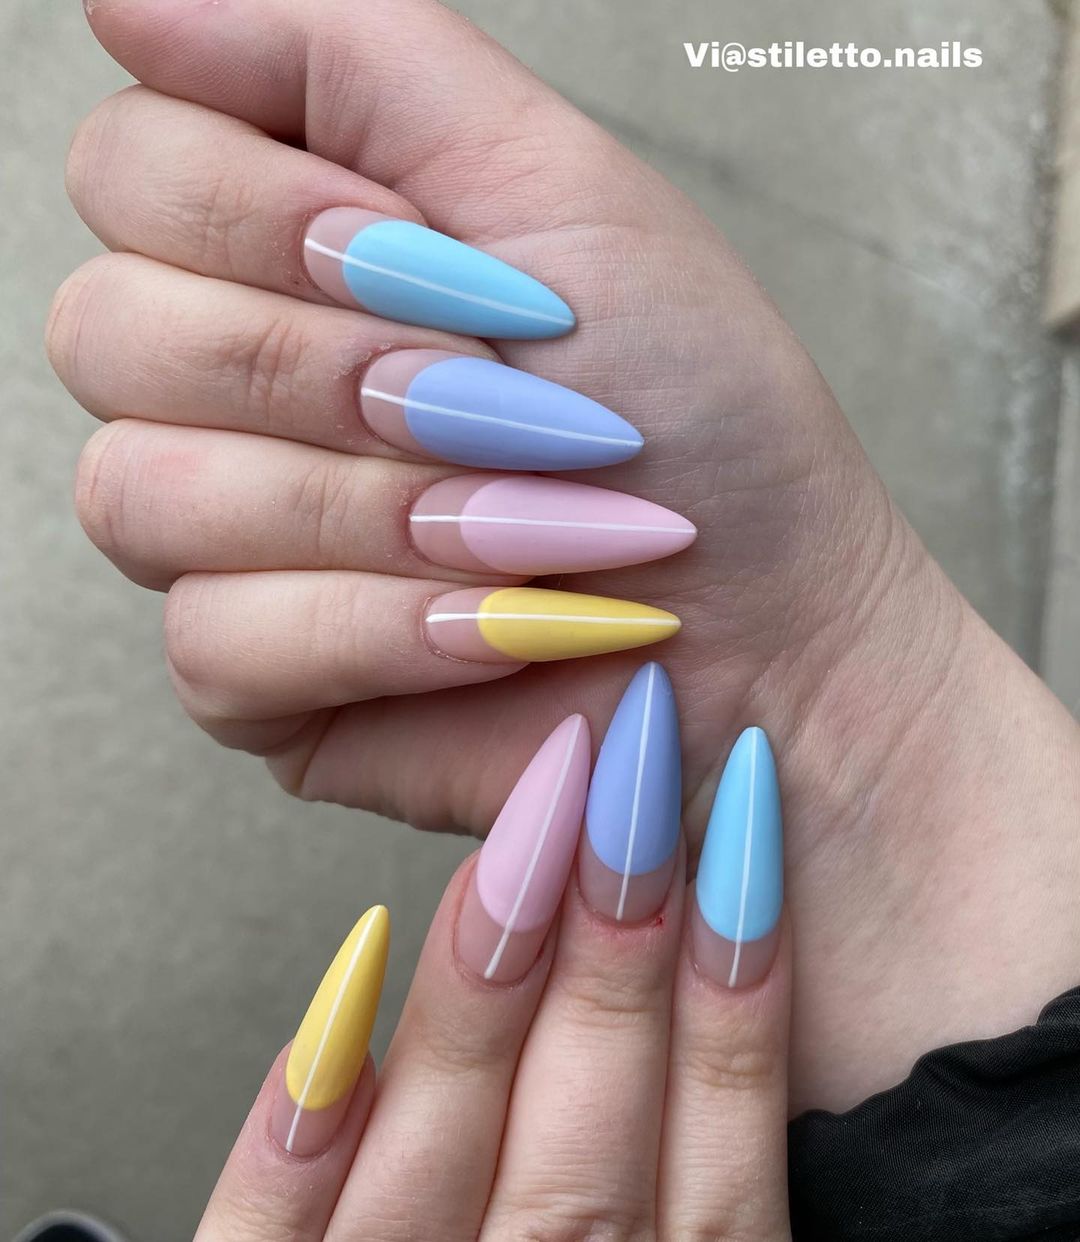
via @stiletto.nails
16. Rainbow Cow Print Nails – Moo-ing All Day Through
A charming rainbow nail art design idea is the cow print. You can go in for cow print nail designs on any base color – keep it original with a white base and black spots. Shade the tip simply or half of your nails or cover the entire nail of all your fingers with this idea. On a white base, your next manicure idea is to use any of the multiple rainbow colors to create the cow spots.
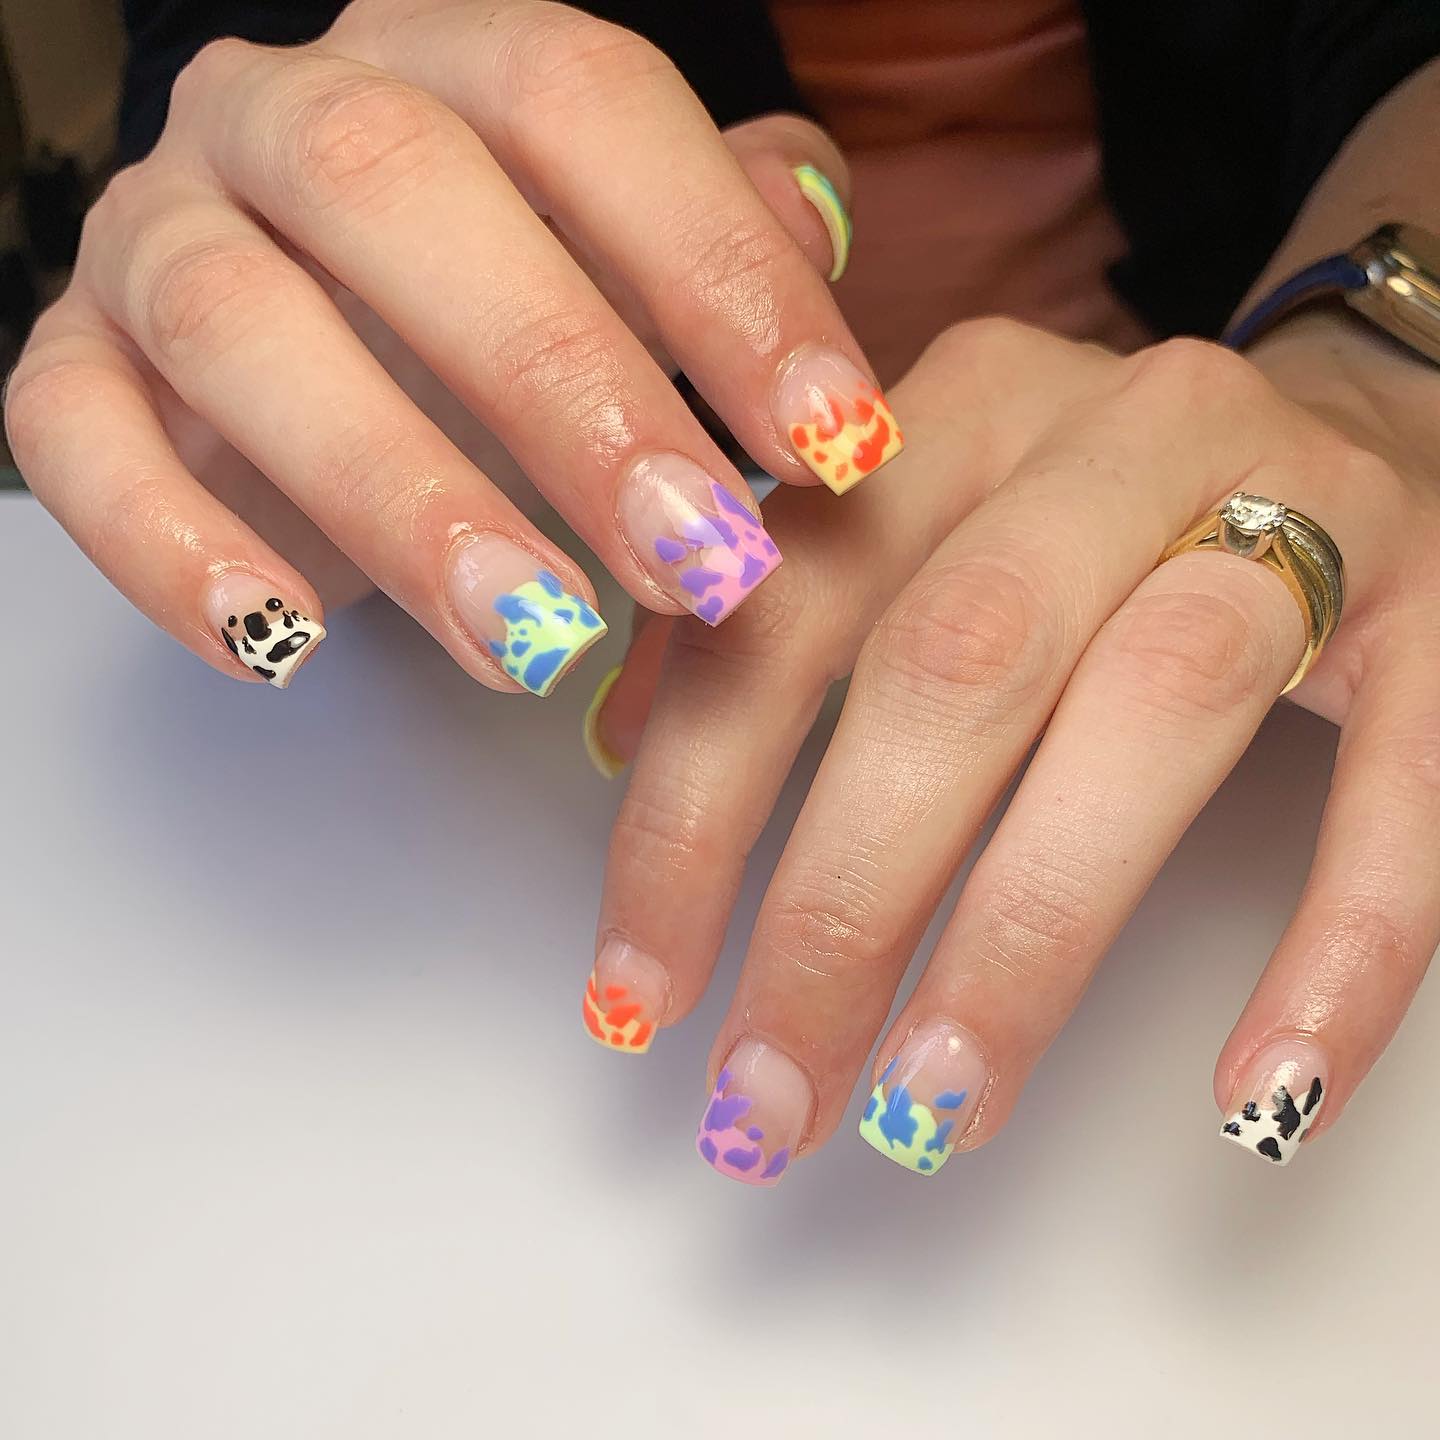
via @glamourbeautyxx
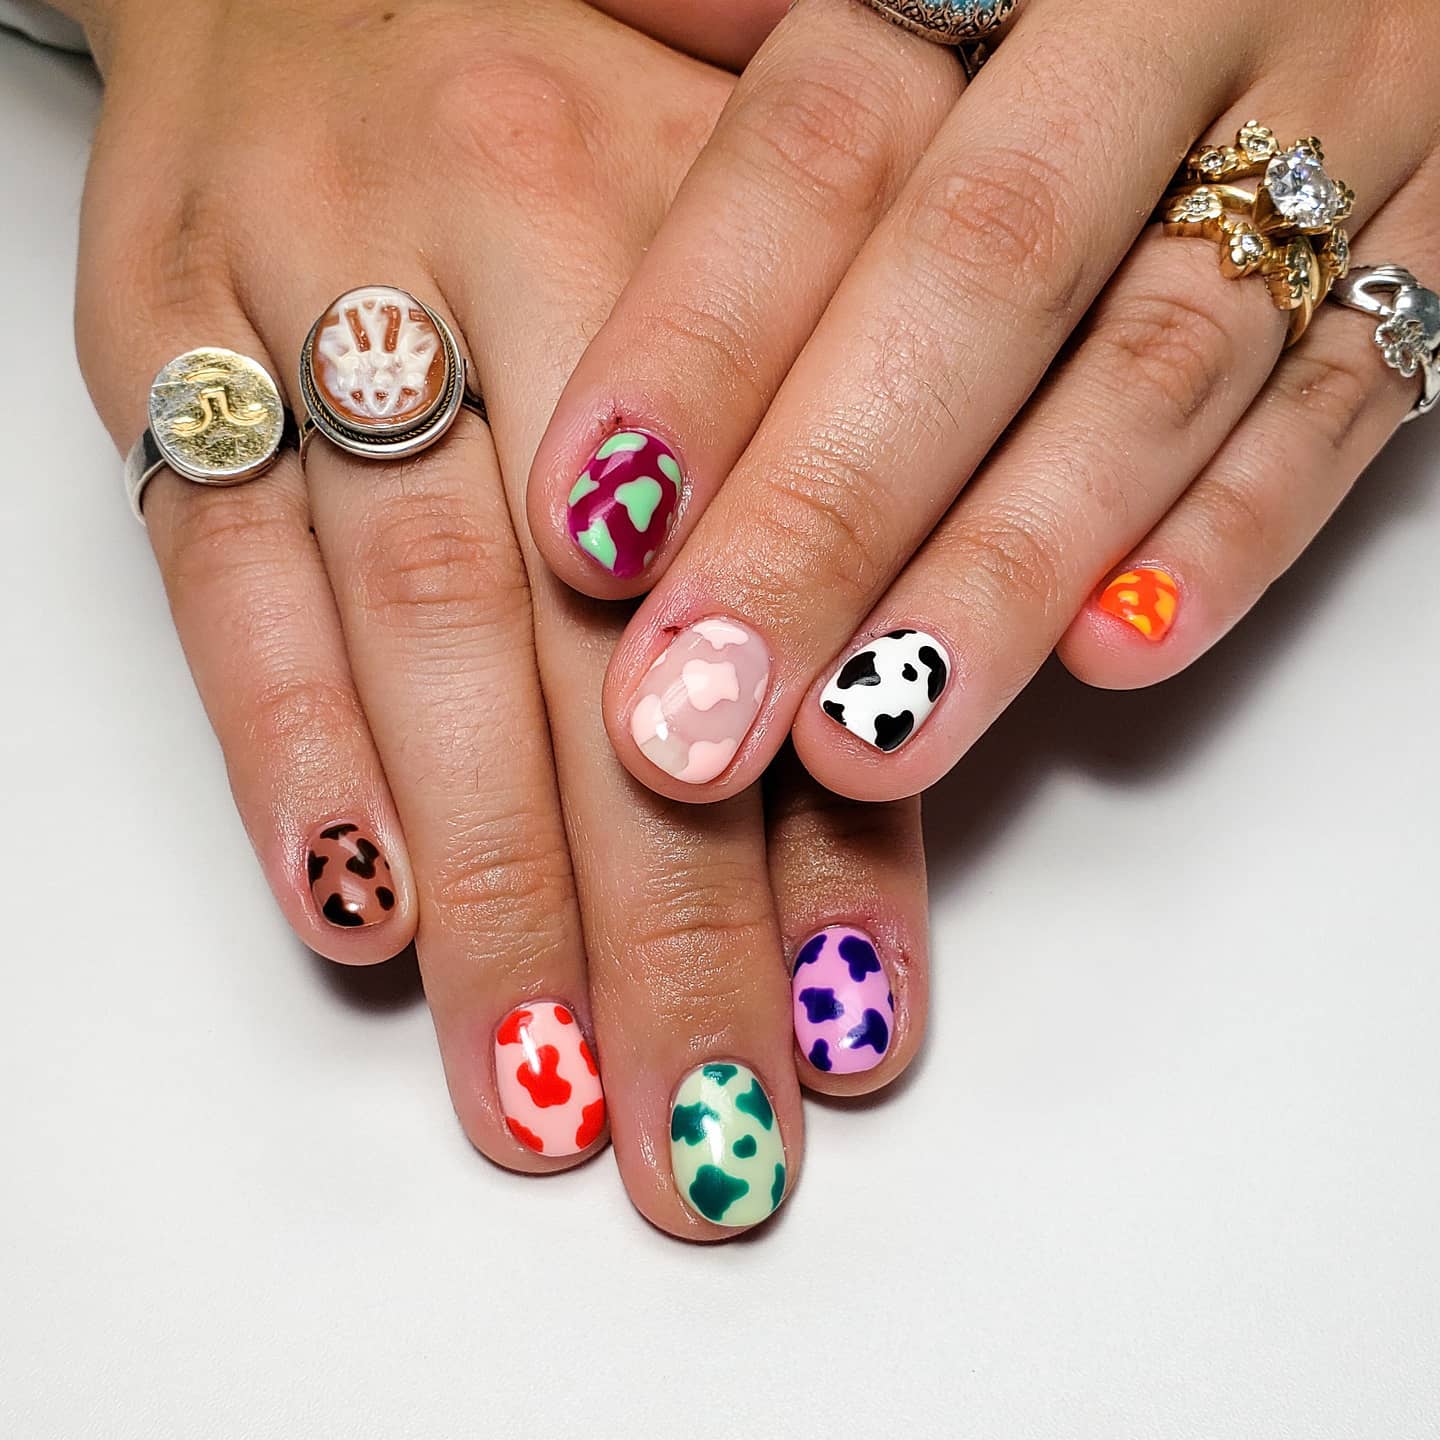
via @nailartbysofia_
17. Rainbow Press on Nails – Fake Nails that Look Real
Press-on nails are fake but can be used conveniently to create and recreate rainbow manicures. Similar to colorful acrylic nails that your nail technician applies in the salon, these press-ons are easy to apply and can be done at home. Once you get the hang of it, you can DIY it on your own, making it almost like your natural nails. A white polish with rainbow designs looks fabulous on nails of all types and sizes.
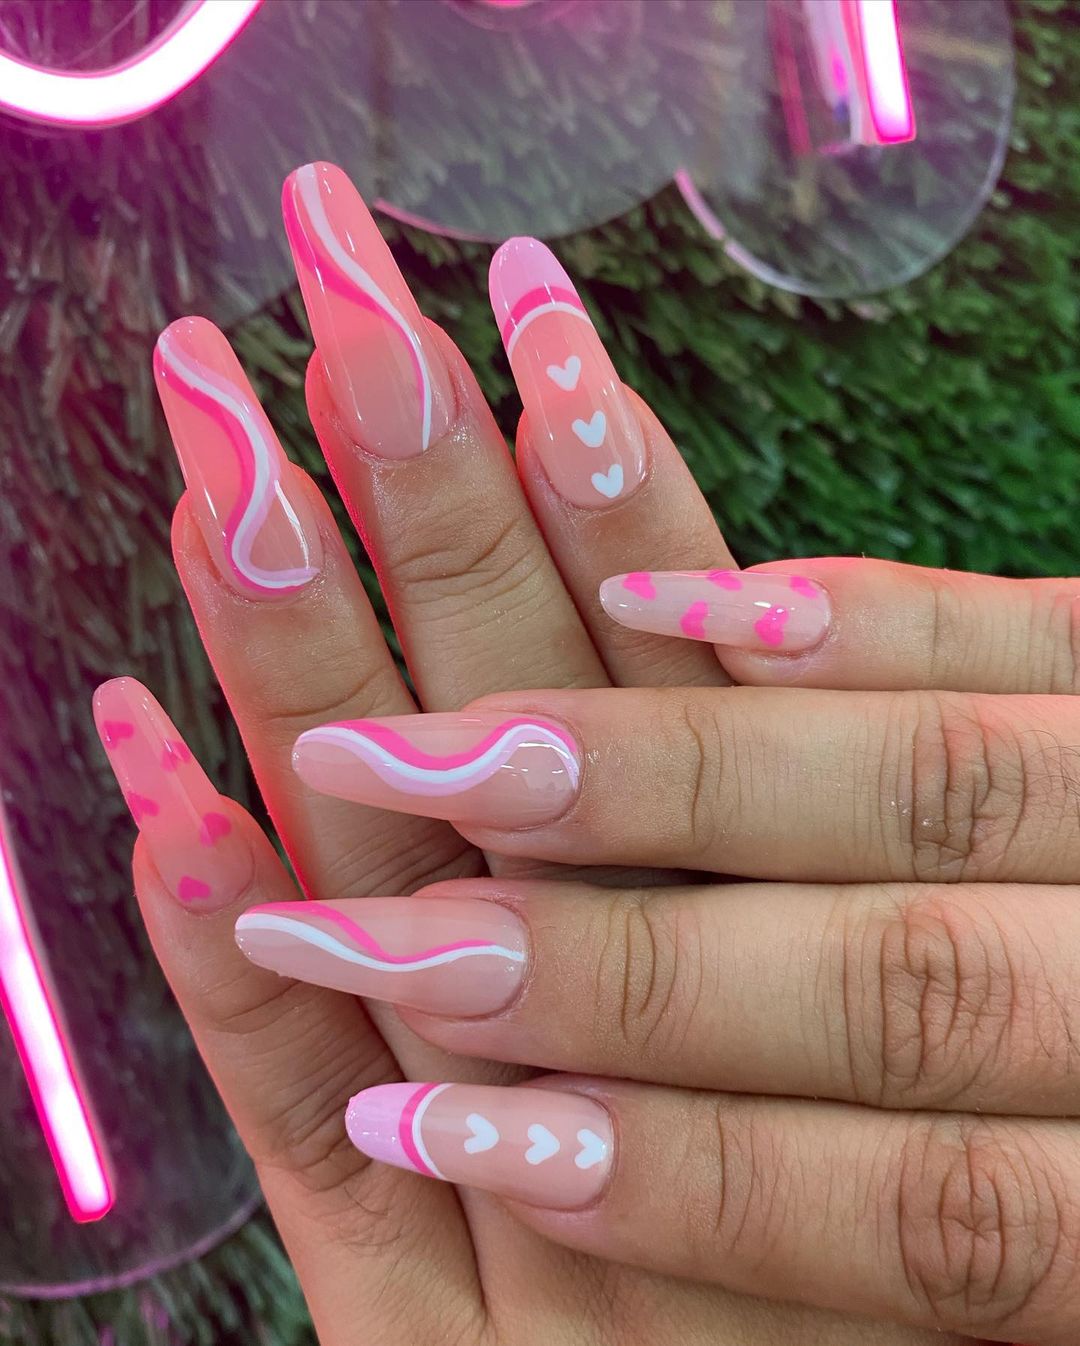
via @milarte_nails
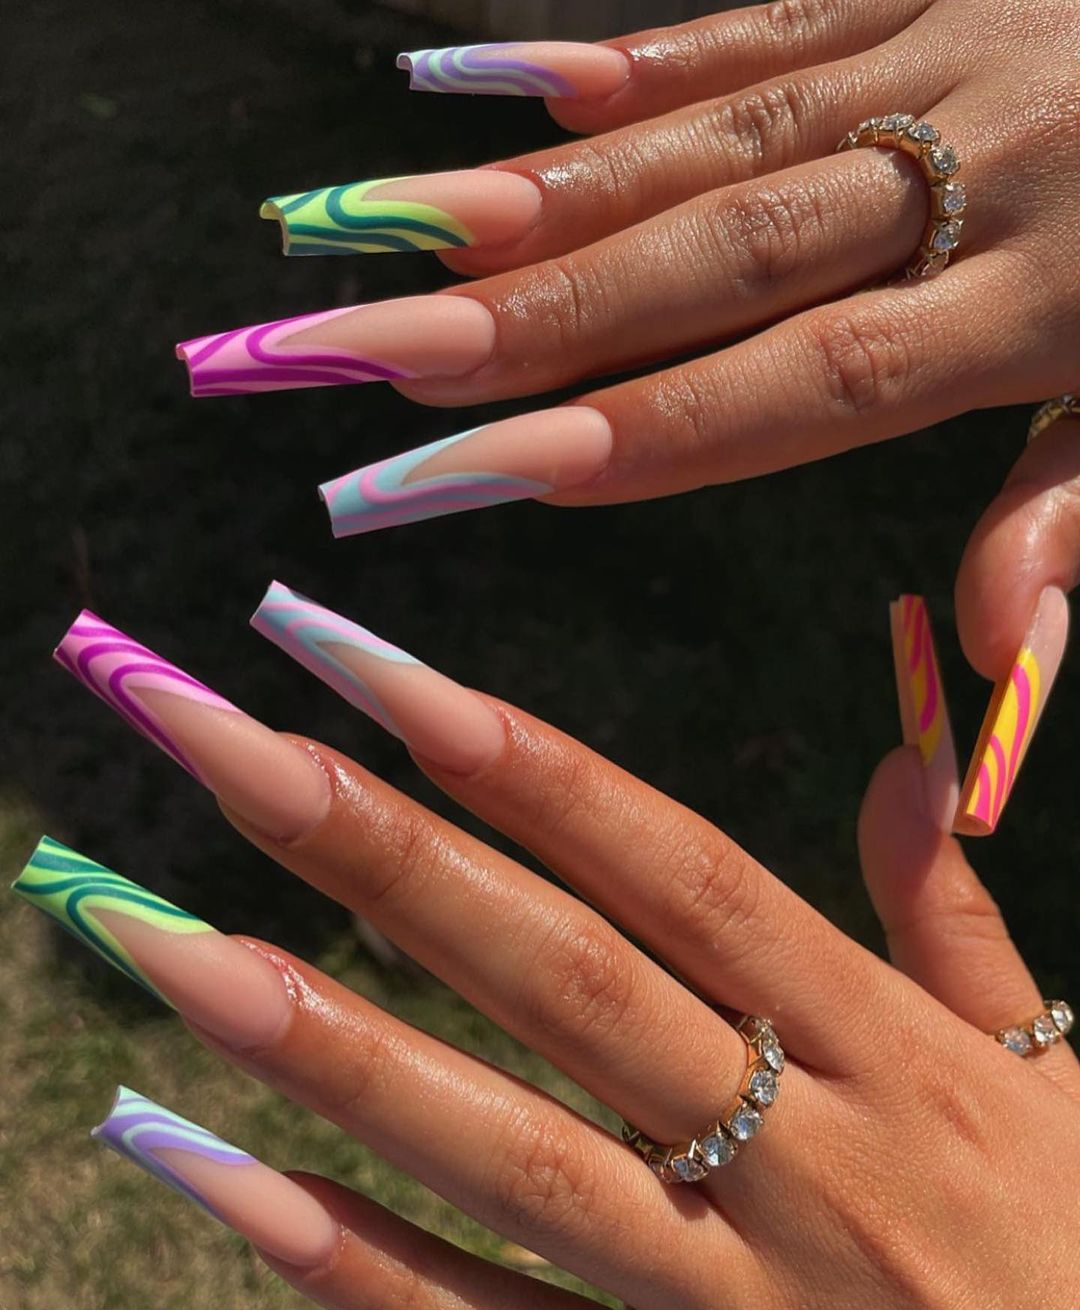
18. Rainbow Marble Nails Looks Vivid & Enchanting
To apply marble nail designs, first, apply a base coat. For the best look, use white color nail polish in the next step. Using white makes the different colors of marble nails more vivid and enchanting.
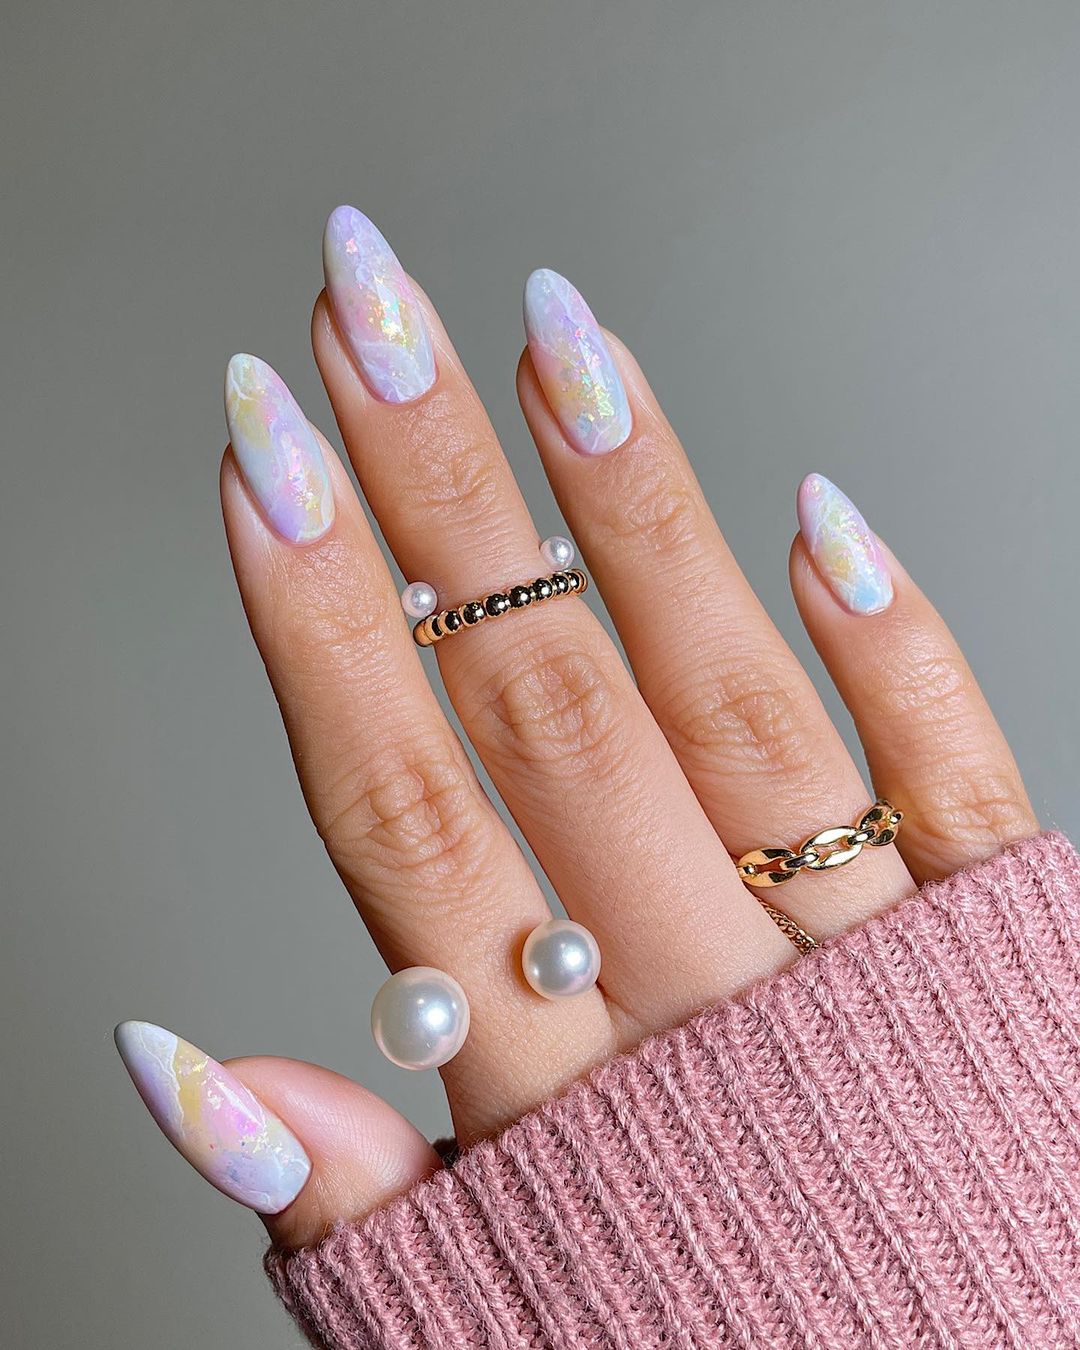
via @sansungnails
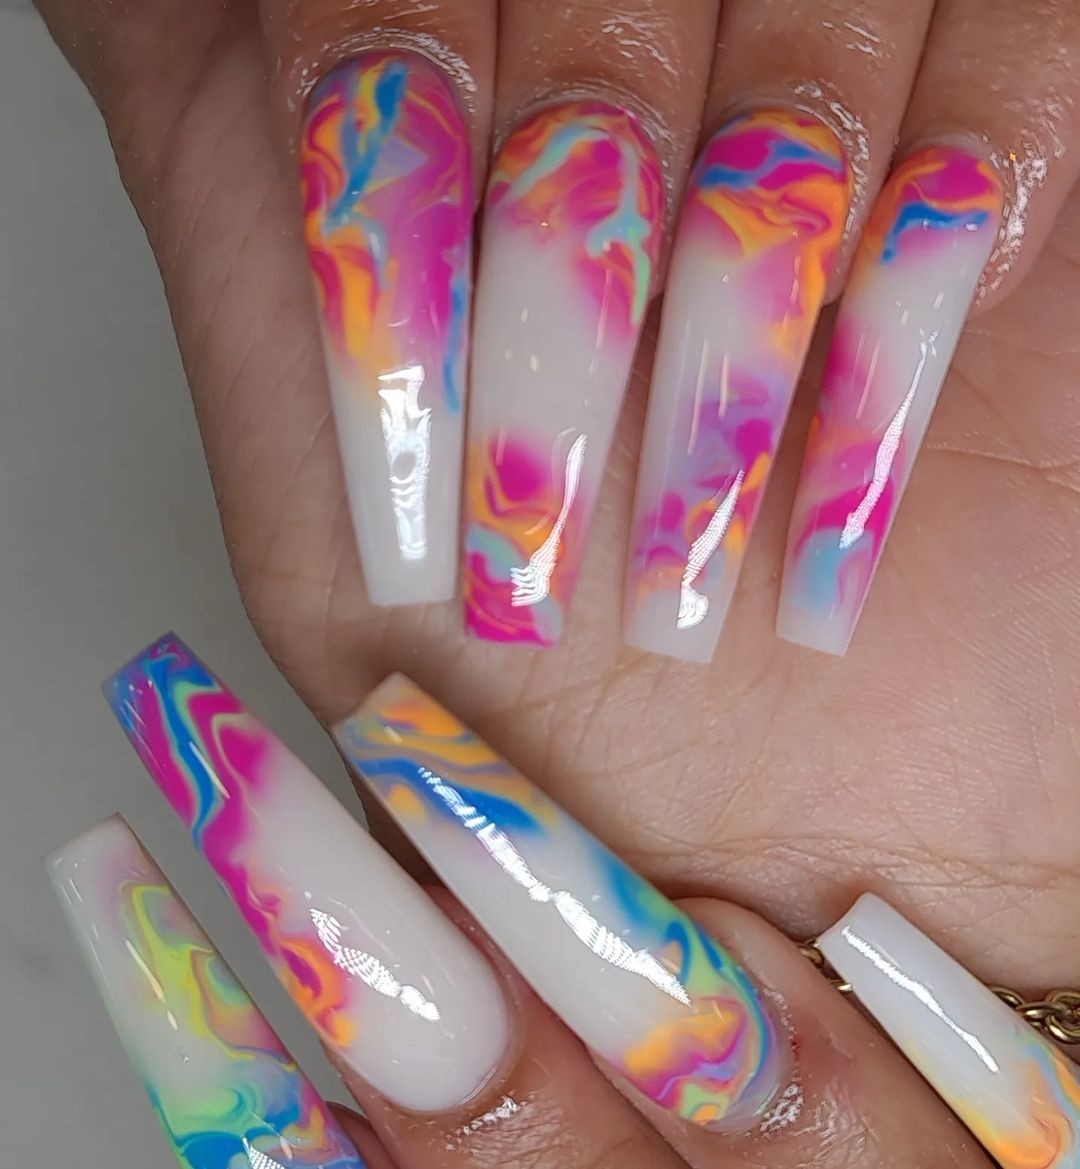
Now dab different colors from the rainbow on each nail. Use a thin plastic wrap to cover the colored nail twice to dab over the nail again. Crumble up the plastic wrap and apply white nail polish to it. Use this to dab the nails again. This is perfect for your long round nails with a rainbow marble design.
FAQ
How to do rainbow nail design with water?
Follow these easy steps to apply rainbow nail design with water to your nails:
- Apply a natural base coat to the nail.
- Then apply nail polish. It will be the base nail shade.
- Next, apply liquid latex to the skin surrounding the nails.
- Take a makeup sponge.
- Apply the rainbow colors to the sponge.
- Now use the sponge onto your nails. Repeat the steps two to three times.
- Remove the latex layer and apply another layer of latex to the skin.
- Next, take a black and clear polish.
- Take a bowl of normal water.
- Dip the black and clear polish in the water and turn to get an abstract design.
- Now dip your fingers into the cup of water at an angle. Hold them for a few seconds and take them out.
- Remove the liquid latex using a tweezer.
- Apply a top coat to get a polished look.


